1. Introduction: The “I Don’t Want to Ruin My House” Panic
It’s a Saturday morning. You’ve got a tangled ball of twinkling LEDs at your feet, a ladder leaning against the house, and a heavy-duty hammer drill in your hand. You stare at your home’s beautiful brickwork, finger hovering over the trigger, and a cold sweat starts to form.
Deep down, you know the truth: You are about to bore a permanent hole into your house for a decoration that is going to be up for exactly 30 days.
Put the drill down. Step away from the wall.
We all want that festive curb appeal, but there is often a massive clash between the “seasonal novelty” of holiday lights and the engineering challenge of keeping them up against gravity and wind. The fear is real drilling into your masonry substrate isn’t just about the noise. It introduces the risk of cracking the face of the brick, creating moisture entry points, or leaving behind ugly scars on your facade that you’ll have to stare at in July.
The good news? You don’t need a degree in material science to win this battle. You just need the right approach.
Today, we’re going to bypass the power tools entirely. We’ll break down three proven, non-invasive attachment methods that respect your architecture while keeping your display secure. Whether you’re dealing with rough brick, smooth stone, or tricky mortar joints, there is a way to hang those lights without ruining your walls.
2. Phase 1: The Inspection (Don’t Skip This!)
I know, I know. You want to rush to the store, buy the shiny things, and get to the fun part. But trying to hang lights without checking your brick situation first is like buying shoes without looking at the size, you’re going to end up frustrated, and things are going to pinch in all the wrong places.
Bricks aren’t just red rectangles; they are unique snowflakes of baked clay. To pick the right method, you need to understand your masonry substrate. Grab a ruler and a credit card (don’t worry, we aren’t buying anything yet), and let’s do a quick site audit.
1. The Mortar Check (The Credit Card Test)
This is the “make or break” factor for using brick clips. Clips rely on a specific mortar profile to grab onto.
Take your credit card and place the edge against the vertical gap between two bricks.
- The Sweet Spot: If the card bridges the gap and there is clear space behind it (about 1/4 inch deep), you have recessed joints. Congratulations! You are the perfect candidate for mechanical attachment clips.
- The Dealbreaker: If the mortar is level with the brick face (flush joints) or bulging out like a muffin top (weeping joints), clips simply won’t have a ledge to grab. If this is you, put the clips back on the shelf, you’re going to need Method 2 or 3.
2. Size Matters (and Shape too)
If you passed the mortar check and want to use clips, you cannot just “eyeball” the size. This is the number one reason homeowners end up with lights in their bushes by December 5th.
Bricks come in different standardized dimensions, but manufacturing variances are real. You need to measure the height of the brick only – do not include the mortar in this measurement!
- Standard Brick: Usually 2 ¼ inches tall.
- Queen/King Brick: Taller, usually around 2 ¾ inches.
Most clips are sold based on these specific ranges. If you try to force a standard clip onto a King brick, the spring steel will snap. If you put a large clip on a standard brick, it will slide around like a loose tooth.
3. Surface Texture
Finally, rub your hand over the brick face (carefully). Is it smooth like glazed pottery, or rough like sandpaper?
- Smooth/Painted: Great for adhesive tapes, but slippery for friction clips.
- Rough/Wire-Cut: Terrible for tape (it won’t seal), but excellent for hot melt adhesive because the glue can flow into the nooks for a solid mechanical interlock.
Got your measurements and your surface diagnosis? Good. Now we can choose your weapon.
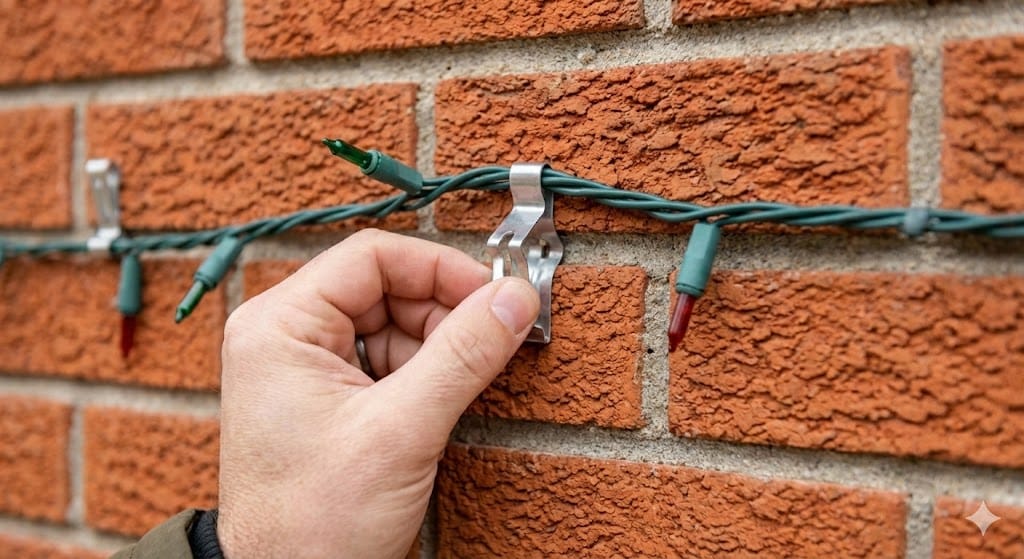
3. Method 1: Brick Clips (The “Elegant” Solution)
If you are one of the lucky ones with recessed joints and standard-sized bricks, consider this the VIP lane. Brick clips are clean, reusable, and arguably the most professional-looking option.
How It Works: These clips rely on spring steel to create tension. You squeeze the clip, hook the “teeth” onto the top and bottom of the brick, and release. The clip tries to spring back to its original shape, biting into the brick texture with a mechanical attachment that is surprisingly strong. Some advanced models even use a saw-tooth grip to really dig into the masonry texture.
The Strategy:
- Positioning: Place the clip against the brick face.
- The Squeeze: Squeeze the spring arm. If you don’t have “fingers of steel,” use a flathead screwdriver to gently leverage the spring arm down until it catches the brick edge.
- The Snap: Release it. Give it a tug. It should feel like part of the wall.
The “Gotcha”: If your house has heavily painted brick, these can be tricky. Thick paint fills the pores, reducing friction, which can cause the clips to pop off when the wind picks up. Also, check your brick height! If you force a standard clip onto a larger brick, the metal will fatigue and snap.
4. Method 2: Hot Glue (The “Pro” Secret)
Okay, stop laughing. I know you’re thinking of your kids’ art projects, but hot glue is actually a secret weapon used by professional holiday installers, if you use the right kind.
Best For: Rough, irregular, or weeping mortar surfaces where clips just slide off.
The Science: Brick is naturally porous. When you apply hot glue, the liquid adhesive flows into those microscopic nooks and crannies. As it cools and hardens, it creates a mechanical interlocking bond. You aren’t just sticking it on the brick; you’re anchoring it into the texture.
The Rules of Engagement:
- Get the Good Stuff: Do not use the mini craft gun from the scrapbook aisle. You need a full-size, high-temp gun and heavy-duty hot melt adhesive sticks.
- Watch the Temperature: Physics is annoying. If the brick is freezing cold, the glue will cool too fast (a “cold joint”) and won’t stick. Wait for a sunny afternoon to install. Also, be aware of thermal expansion – if the temperature drops drastically, the glue might become brittle.
- The Blob Technique: Apply a blob of glue to the light socket base (not the bulb!) and press it firmly against the brick for 10-15 seconds.
The Exit Strategy (Removal): This is the best part. When January rolls around, don’t chisel it off. Dab a little Isopropyl Alcohol (rubbing alcohol) on the glue. The alcohol breaks the bond instantly, and the glue pops off without leaving a trace. It’s practically magic.
5. Method 3: Heavy-Duty Tape (The “Smooth Operator”)
If you have smooth, polished, or glazed brick (or stone veneer), clips won’t grab and glue might not flow well. This is where modern chemistry saves the day.
Best For: Smooth, non-porous surfaces.
The Tech: We aren’t talking about Scotch tape. You need exterior-grade mounting tape (like 3M VHB or Gorilla Mounting Tape). These use a viscoelastic foam core that acts like both a solid and a liquid, flowing into minor surface imperfections to create a vacuum-like seal.
The Crucial Step: Surface Preparation This is where people fail. Brick is dusty. If you stick tape to a dusty wall, you are just taping dust to dust.
- Clean It: Scrub the installation spots with a wire brush or a stiff nylon brush to remove loose debris, algae, or oxidation.
- Wipe It: Use a rag with rubbing alcohol to remove oils and fine dust. This increases the surface energy, allowing the adhesive to bond properly.
- The Wait: Apply the tape (or mounting squares) to the brick and press hard. Ideally, let the tape “cure” for 24 hours before you hang the weight of the lights on it.
Warning: This method is strong—sometimes too strong. On old, flaky paint or crumbling masonry, removal can be tricky. You might pull a chip of paint off with the tape, so proceed with caution on vintage facades.
6. The “Safety Corner” (Boring But Keeps You Alive)
Look, I don’t want to be the fun police. But if you’re going to cover your house in electricity and climb high places, we need to have a quick chat. Gravity is undefeated, and water and electricity are sworn enemies.
1. Respect the Ladder Don’t be a hero. If you can’t reach that last corner, move the ladder. Over-reaching is how most holiday accidents happen. Ensure your ladder is on stable, level ground, no balancing on flower pots or frozen shrubbery.
2. The “Drip Loop” Trick This is the simplest, most effective trick in the electrician’s handbook. When you plug your extension cords in, make sure the cord dips down below the outlet before curving back up to the plug.
- Why? Gravity. If it rains, water runs down the cord. Without a drip loop, water runs straight into the socket. With a loop, it drips harmlessly off the bottom of the curve.
3. GFCI Protection is Non-Negotiable All outdoor lighting needs to be plugged into a strict outlet. Specifically, one with GFCI protection (Ground Fault Circuit Interrupter). You know, the one with the little “Test” and “Reset” buttons. If water gets into your lights, this device cuts the power in milliseconds, saving you from a shock and your house from a fire. If you don’t have one, buy a portable GFCI adapter.
7. Troubleshooting: Why Did My Lights Fall Down?
It happens to the best of us. You wake up, look outside, and your festive masterpiece is draping sadly over the azaleas. Before you curse the manufacturer, let’s look at the likely culprits.
- Problem: The Brick Clips keep popping off.
- Diagnosis: You probably bought the “Standard” size for a “Queen” or “King” brick. Even a quarter-inch difference creates too much tension, causing the spring steel to fatigue and eject itself.
- The Fix: Remeasure your brick height (excluding mortar!) and size up.
- Problem: The Hot Glue peeled away.
- Diagnosis: It was likely too cold when you installed it, causing “thermal shock” to the glue, or the brick was wet. Moisture ingress prevents the glue from bonding.
- The Fix: Wait for a dry, warmer day (or at least the warmest part of the day) to reinstall.
- Problem: The Tape fell off after one day.
- Diagnosis: Lack of surface preparation. You stuck the tape to a layer of dust or pollen, not the brick itself.
- The Fix: Scrub the spot with a wire brush and wipe with alcohol. Let the tape cure for 24 hours before hanging the lights again.
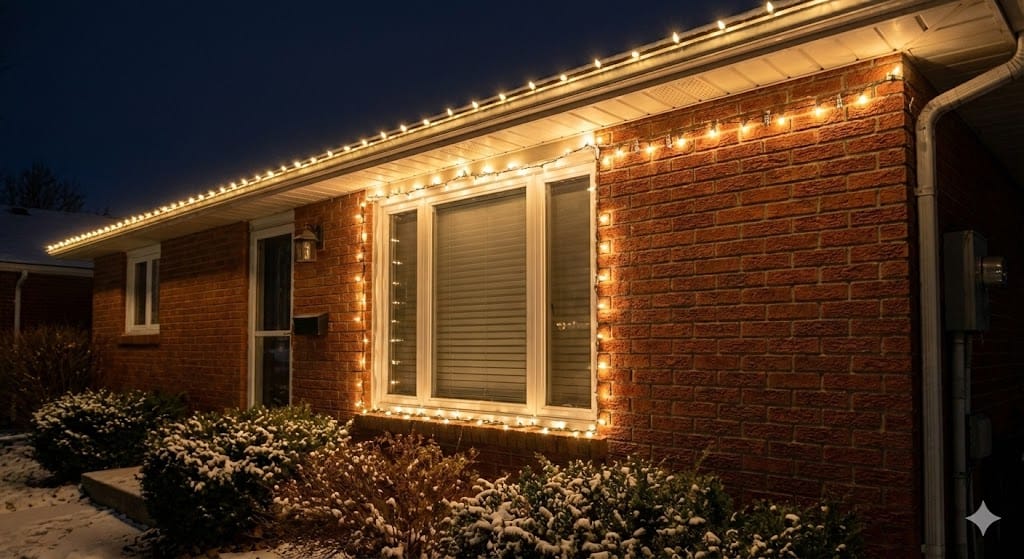
8. Conclusion: Go Forth and Illuminate
There you have it. You can officially have the best-lit house on the block without turning your masonry facade into Swiss cheese.
Whether you go with the snap-on elegance of clips, the custom fit of hot glue, or the modern science of mounting tape, the key is preparation. Measure twice, clean your surfaces, and choose the method that matches your specific home.
Your house stays beautiful, your lights stay up, and best of all? When January comes, you won’t be out there with a tub of mortar filler trying to patch a dozen drill holes.
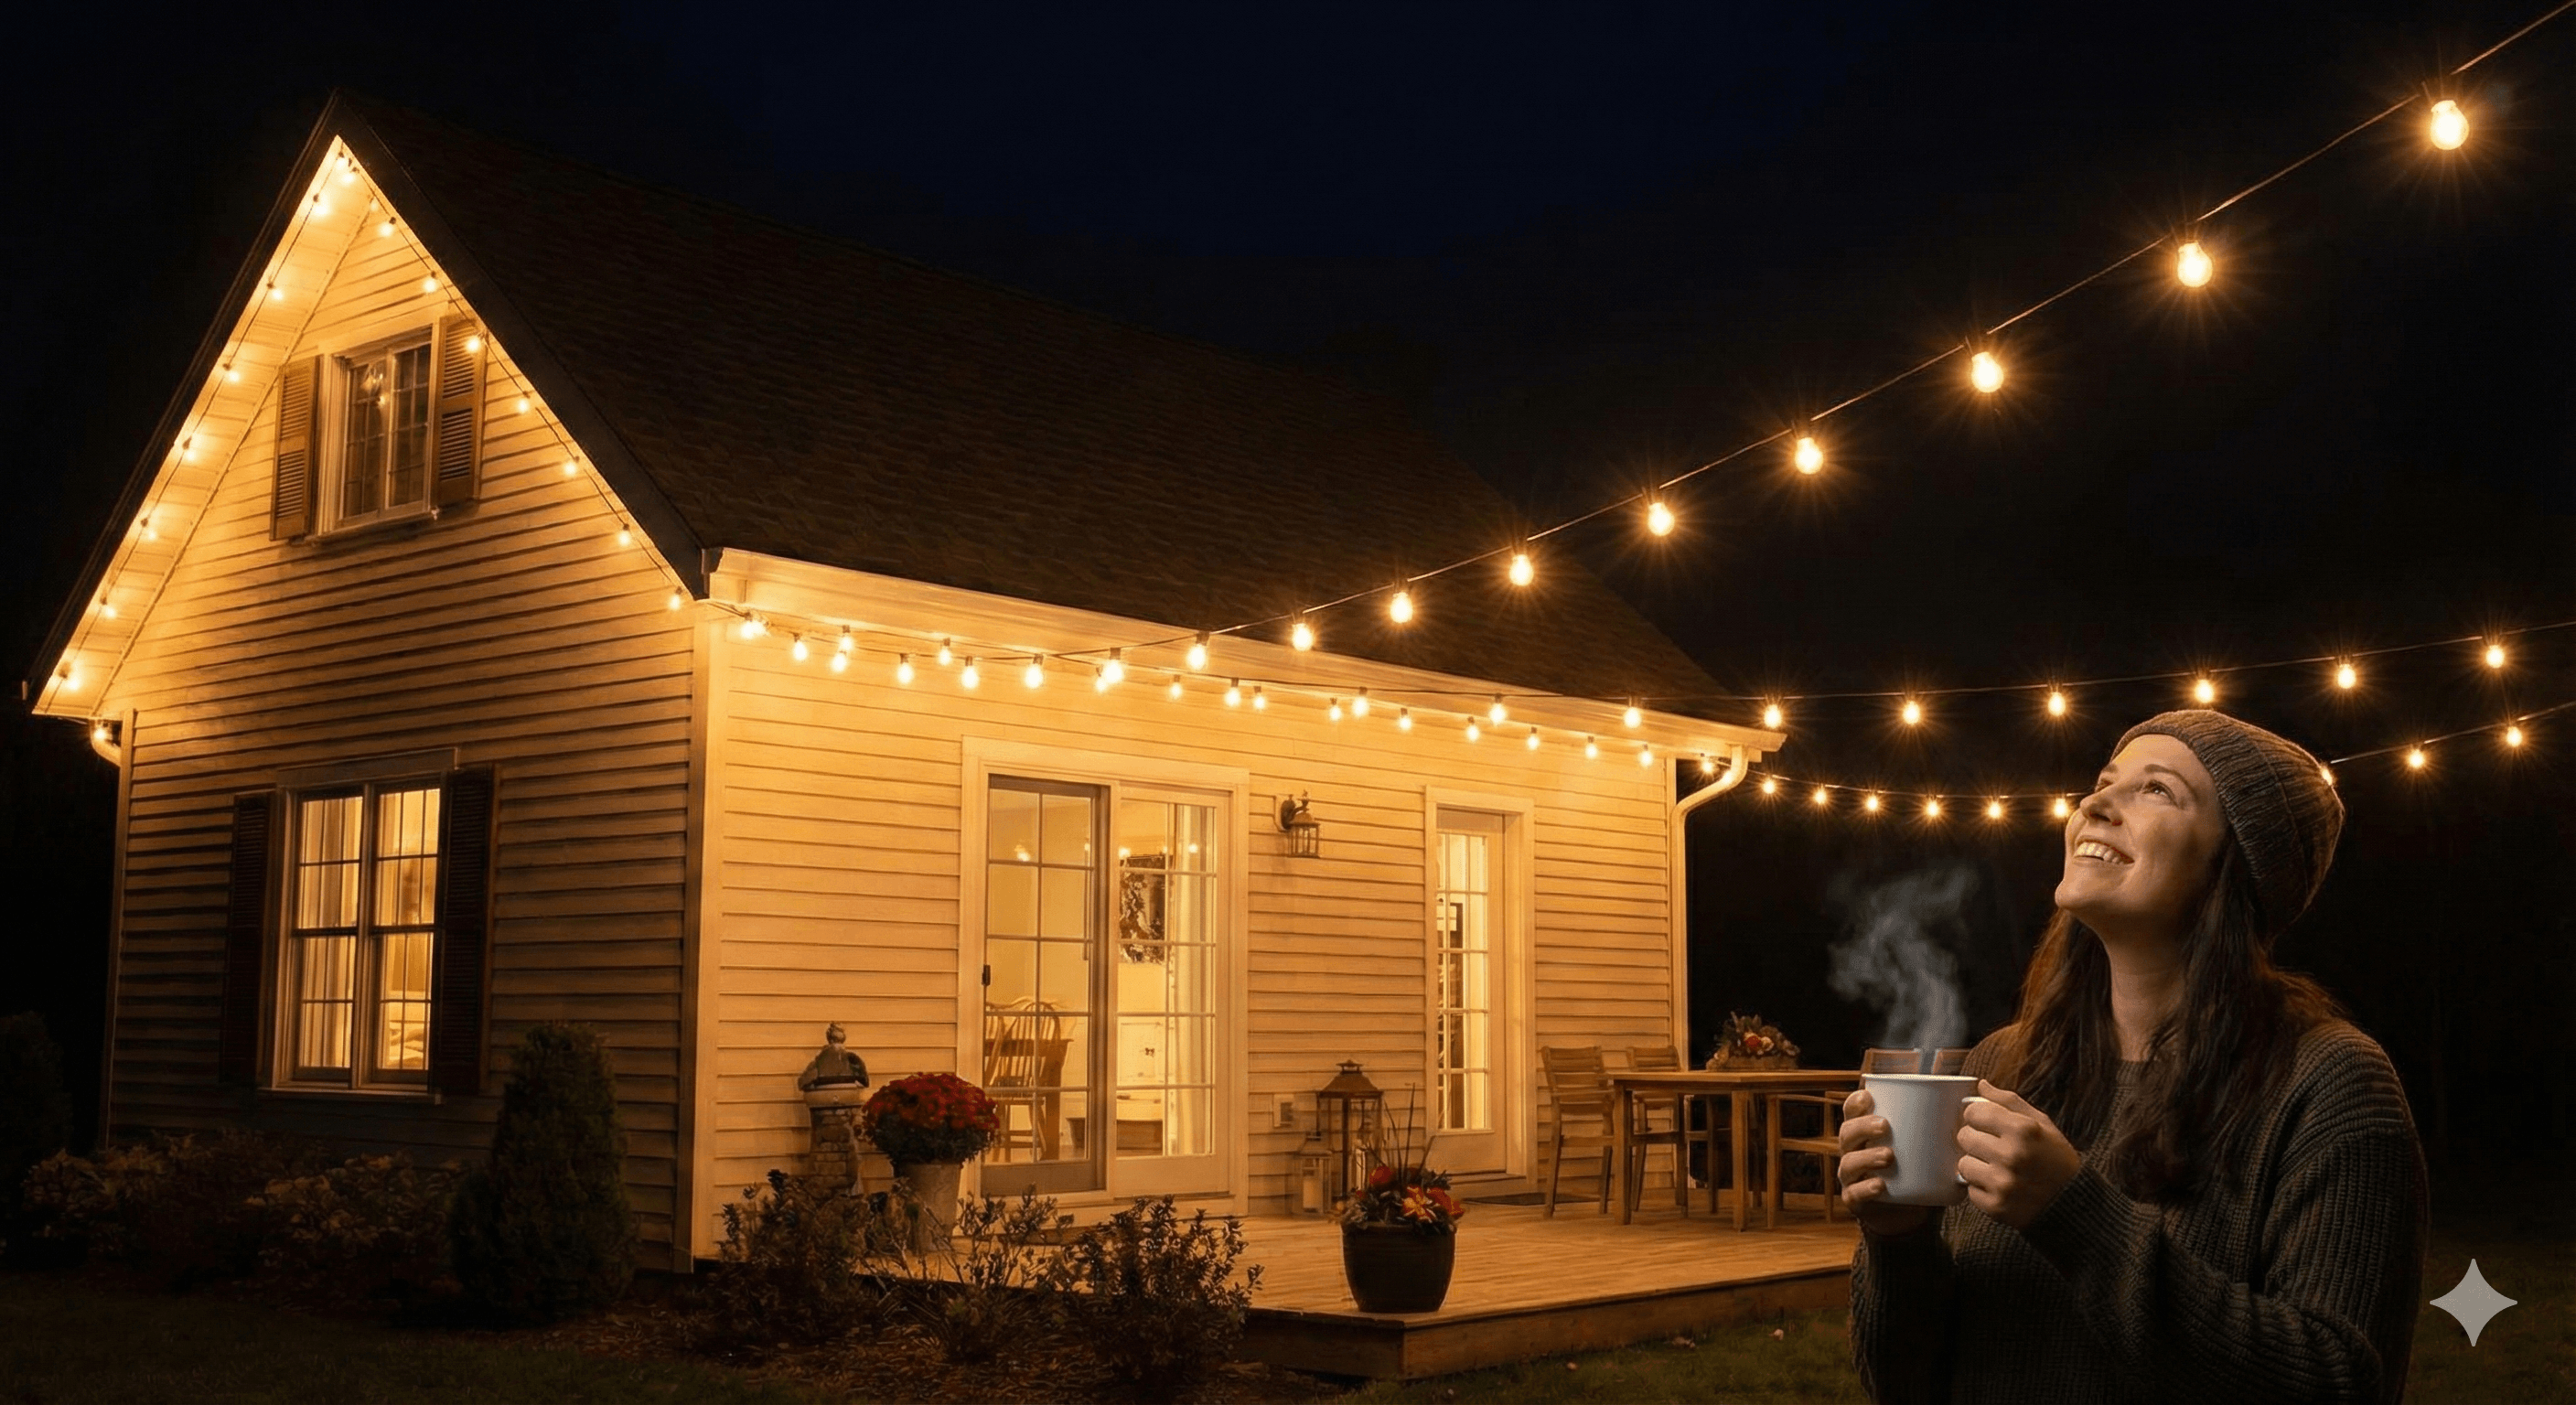
Now, grab a cocoa, get out there, and light it up!
(Did one of these methods save your holiday display? Drop a comment below or better yet, a photo of your drill-free masterpiece!)