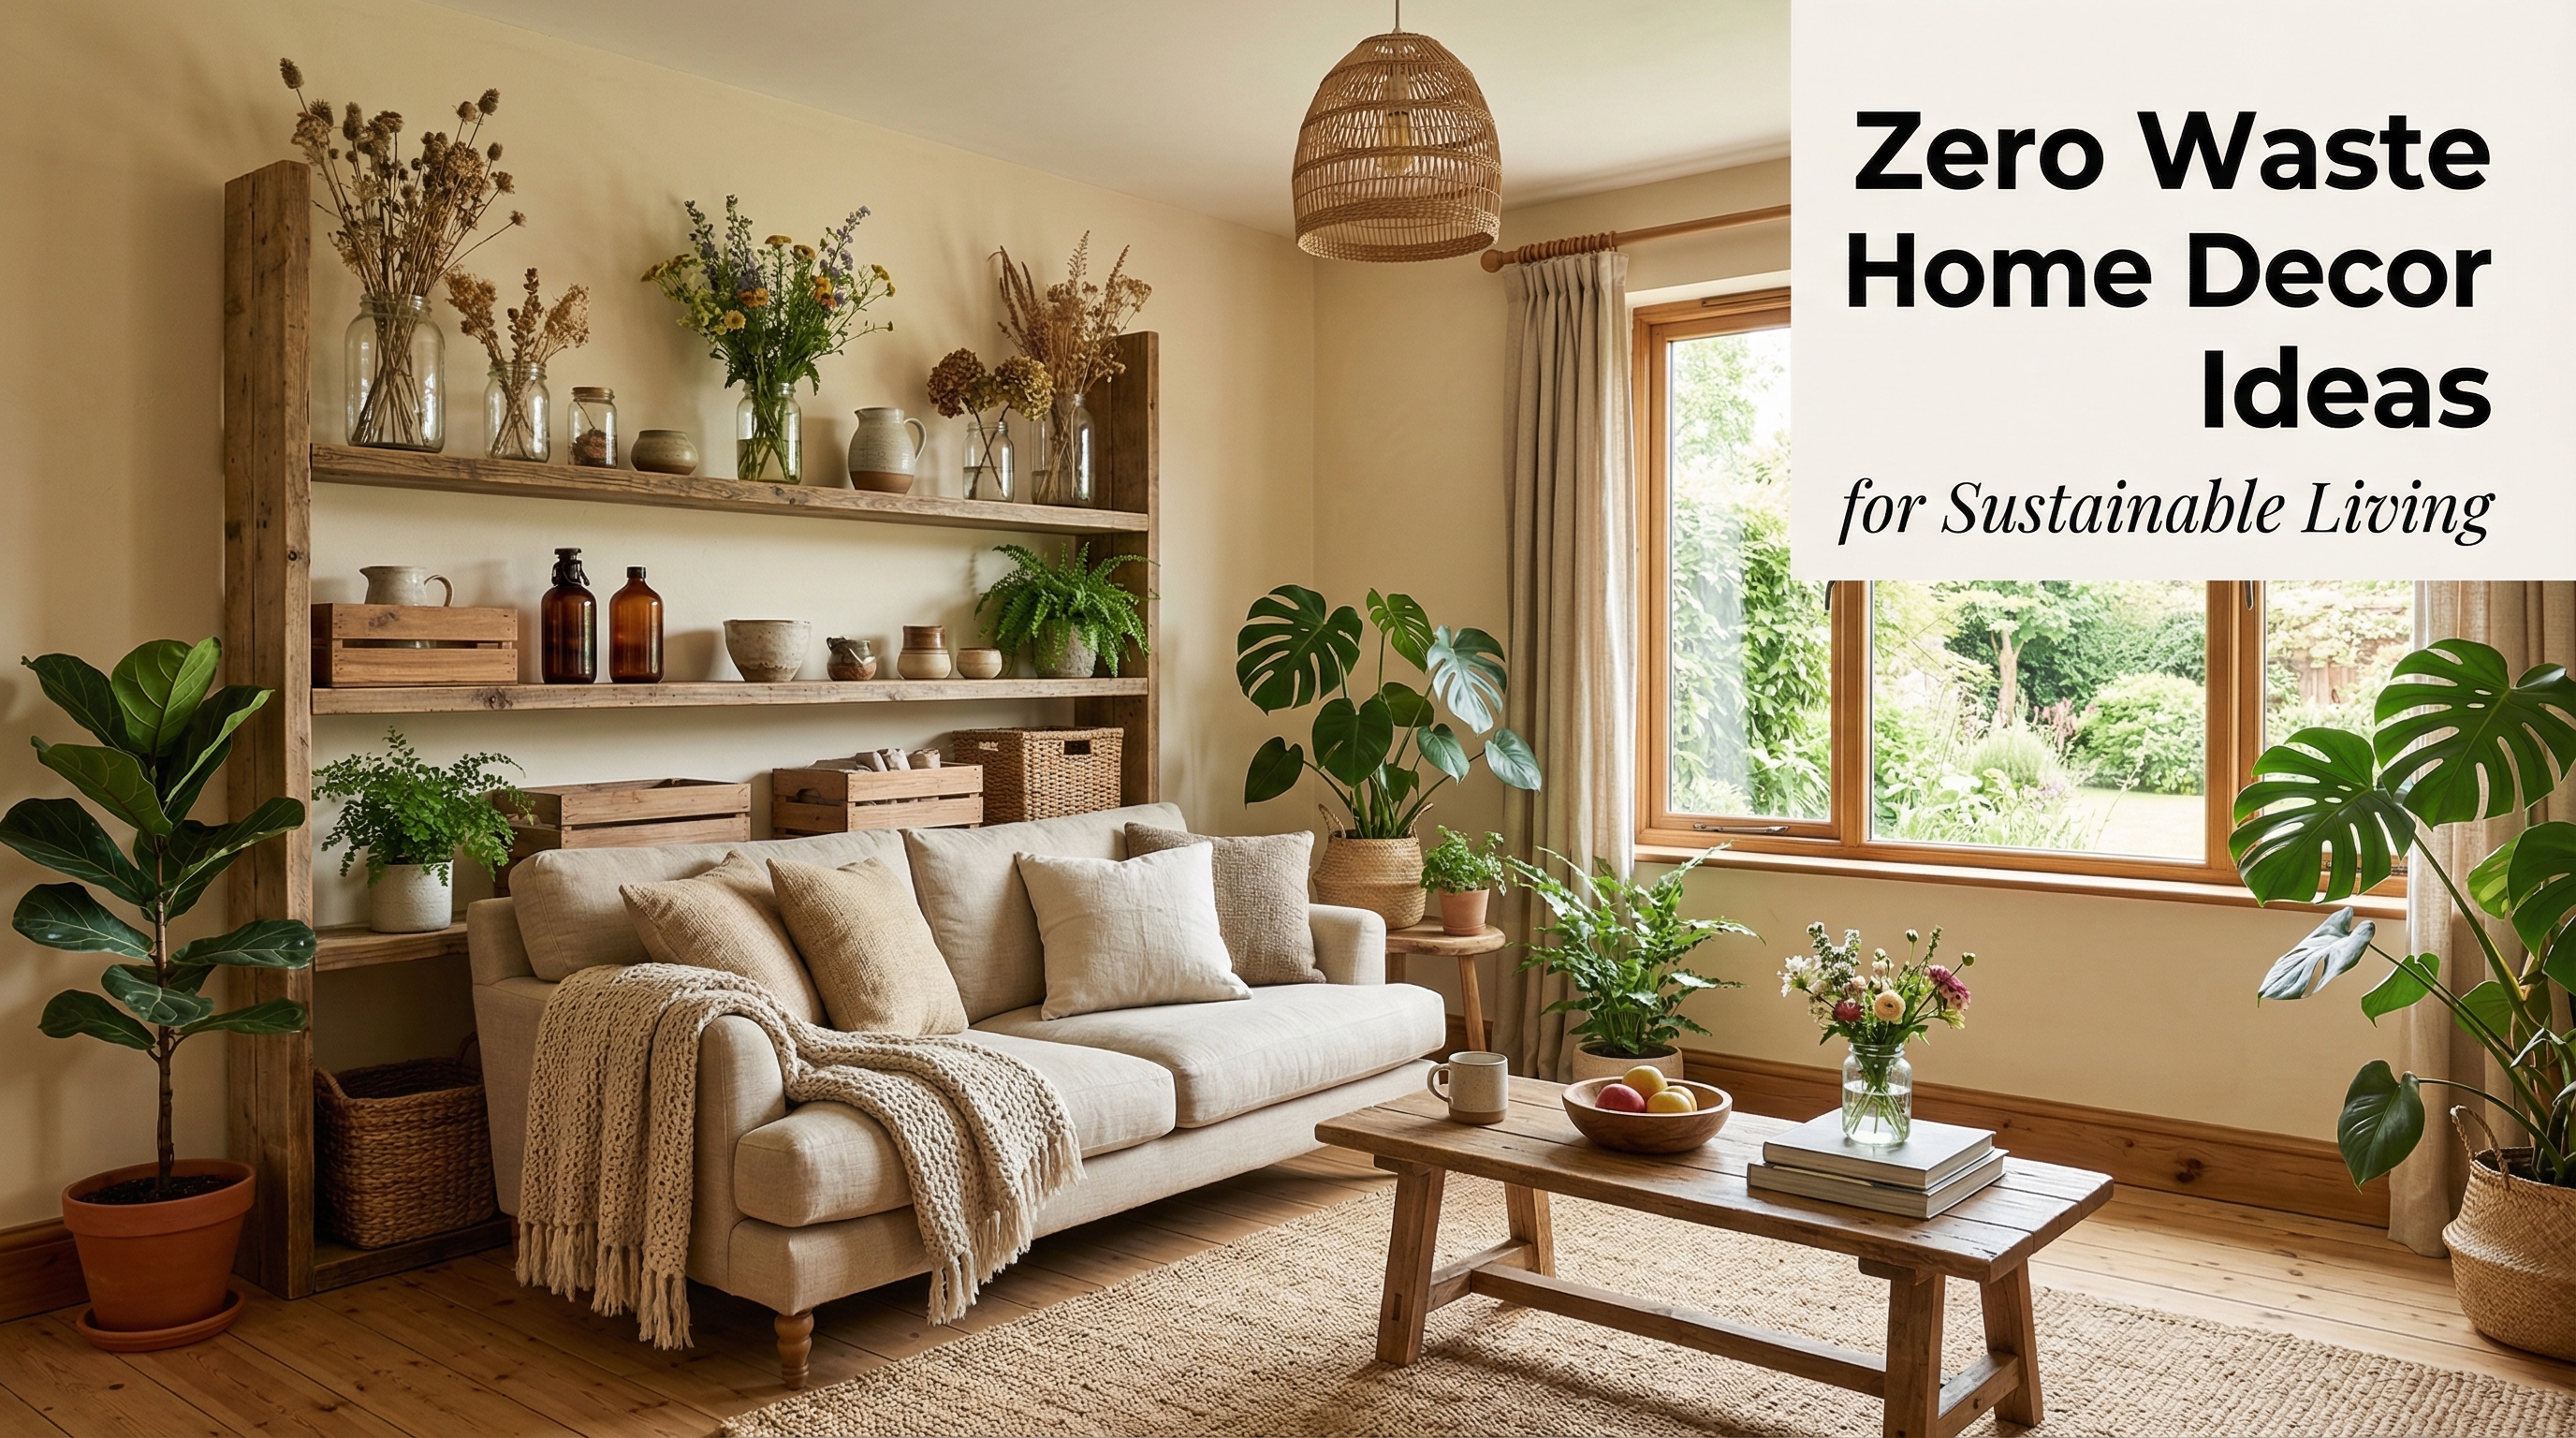
Okay, real talk for a second. How many times have you been about to toss an old glass jar, an empty tin can, or a pile of fabric scraps and thought, “I feel like I could do something with this”? If that sounds familiar, you are in exactly the right place.
You do not need a craft room, a big budget, or any fancy skills to decorate your home beautifully. Some of the most gorgeous home decor pieces I have ever seen were made from things that were headed straight for the recycling bin. And honestly? That is one of my favorite things about recycled home decor ideas DIY. They are good for your wallet, good for the planet, and genuinely fun to make.
Whether you are a complete beginner or someone who has dabbled in crafts before, every single idea in this list is designed to be simple, affordable, and totally doable on a regular Tuesday afternoon with stuff you probably already have at home.
Let us get into it.
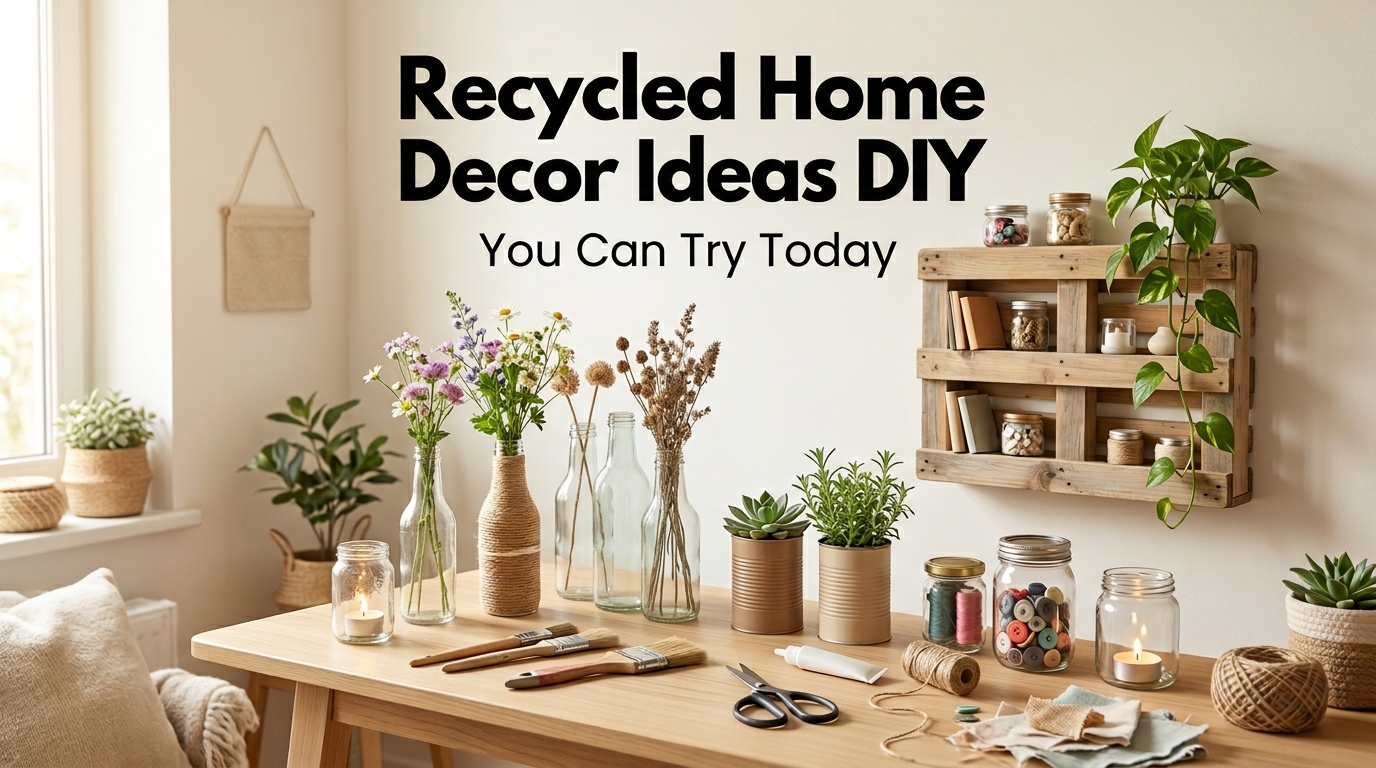
Can You Really Decorate Your Home With Recycled Stuff?
One hundred percent yes. Some of the most popular upcycled decor ideas trending right now on home design blogs and social media use nothing more than old bottles, cardboard, tin cans, and leftover fabric. The secret is not the material. It is what you do with it. A little paint, some creativity, and a good idea turn throwaway items into decor pieces you will genuinely be proud of.
1. Turn Glass Jars Into Pretty Candle Holders
Let us start with one of the easiest and most satisfying recycled crafts you can try right now. Those old pasta sauce jars, jam jars, and pickle jars sitting in your kitchen? They are about to become gorgeous candle holders.
Give the jars a good wash and let them dry completely. Then try one of these simple techniques:
- Wrap the outside with natural twine or jute rope using craft glue for a rustic, earthy look
- Apply a coat of frosted glass spray paint for a soft, diffused glow when the candle is lit
- Paint the outside with acrylic paint in a color that matches your home decor
- Fill the bottom with colored sand, dried beans, or small pebbles before placing a tealight inside
Group three or five jars together on a tray on your dining table or living room shelf. Vary the heights by using different jar sizes. Light them up in the evening and enjoy the warm, cozy atmosphere you just created for practically zero dollars.
What you need: Old glass jars, tealight candles, craft glue, twine, or paint.
Time: 30 minutes.
Cost: Almost nothing.
2. Make a Vase From an Old Wine Bottle
Do not throw away that empty wine bottle. Seriously. With a little spray paint and five minutes of your time, it becomes a chic, modern vase that looks like something straight out of a home decor boutique.
Rinse the bottle well, then remove the label by soaking it in warm, soapy water. Once dry, take it outside or to a well-ventilated area and give it two light coats of matte spray paint in any color you love. Terracotta, sage green, dusty white, and matte black all look absolutely beautiful.
Let it dry fully, then pop a few dried stems, a single flower, or a sprig of eucalyptus inside. Place it on your kitchen counter, your bedside table, or your entryway console. People will genuinely ask where you bought it.
This is one of those upcycled decor ideas that takes almost no effort but gets a huge reaction. It is a great first project if you are new to DIY.
What you need: An empty wine or glass bottle, matte spray paint, and dried stems or flowers.
Time: 20 minutes plus drying time.
Cost: Under $5.
3. Transform Tin Cans Into a Herb Garden
Those empty tin cans from your pantry, think canned tomatoes, chickpeas, and coconut milk, are perfect little planters for a windowsill or balcony herb garden. This is one of the most practical eco DIY projects you can do because it solves two problems at once: it recycles packaging and gives you fresh herbs for cooking.
Remove any sharp edges with a file or sandpaper after opening. Punch a few small drainage holes in the bottom using a nail and hammer. Paint the outside in colors that coordinate with your kitchen decor, or leave them with the original label for a fun, vintage pantry look. Fill with potting mix and plant one herb in each can.
Basil, chives, mint, and parsley all grow happily in tin can planters. Line them up on your kitchen windowsill where they get good light and water them when the soil feels dry. Fresh herbs at arm’s reach while you cook is genuinely one of the small everyday luxuries that makes home feel a little more wonderful.
What you need: Empty tin cans, hammer and nail, potting mix, herb seedlings, and paint if desired.
Time: 45 minutes.
Cost: $2 to $5.
4. Create Wall Art From Old Magazines and Books
Before you toss that stack of old magazines or that battered paperback with the broken spine, flip through them one more time. The pages inside are full of color, texture, and pattern that can become genuinely beautiful wall art with almost no effort.
Here are a few approaches that work really well:
Paper roll art: Cut magazine pages into strips, roll each strip tightly around a pencil, and glue the rolls in a pattern onto a piece of cardboard or canvas. Paint the entire surface in one color once dry for a textured wall piece that looks incredibly sophisticated.
Decoupage tray or frame: Tear or cut pages into pieces and layer them onto an old tray, picture frame, or wooden board using decoupage glue. Seal the surface with a final coat of the same glue once dry. The layered paper texture looks artistic and intentional.
Book page wreath: Fold individual book pages into cone shapes and glue them in overlapping circles onto a cardboard ring to create a wall wreath. Spray paint white or gold for a finished, cohesive look.
These are among the most creative recycled crafts in this list, and they cost essentially nothing because the materials are things most households already have.
What you need: Old magazines or books, scissors, craft glue or decoupage medium, and cardboard or canvas.
Time: 1-2 hours.
Cost: Nothing if you already have the magazines.
5. Upcycle Old Picture Frames Into a Jewelry Display
If you have old picture frames sitting in a cupboard, those mismatched ones you never got around to hanging, here is a lovely way to give them a second life. A repurposed picture frame becomes a gorgeous jewelry and accessory display that looks both pretty and organized on your dresser or bedroom wall.
Remove the glass and backing from the frame. Stretch a piece of wire mesh, burlap fabric, or linen across the opening and staple or glue it to the back of the frame. Add small hooks, pushpins, or tiny clips along the mesh or fabric surface for hanging earrings, necklaces, and bracelets.
Paint the frame a color that complements your bedroom decor before assembling everything. Hang it on the wall above your dresser or dressing table, and suddenly your jewelry collection becomes part of the room’s decor rather than a tangled pile in a drawer.
This is one of those upcycled decor ideas that is functional, personal, and genuinely pretty all at once.
What you need: an old picture frame, wire mesh or fabric, small hooks or pushpins, paint, and a staple gun.
Time: 1 hour.
Cost: Under $10.
6. Make a Decorative Tray From a Cardboard Box Lid
This one might surprise you. A sturdy cardboard box lid, like the kind that comes with shoe boxes, wine shipments, or delivery packaging, can become a genuinely nice-looking decorative tray with a little paint and a few minutes of your time.
Paint the inside of the lid with two coats of acrylic paint in a color you love. A solid matte white, a warm terracotta, or a deep dusty green all look beautiful. Once fully dry, use it as a tray on your coffee table, bathroom counter, or dining table to corral small items like remote controls, candles, small plants, and coasters.
For a more polished finish, line the inside of the tray with a piece of wrapping paper or fabric cut to size and adhered with decoupage glue. The result looks far more intentional than anyone would guess came from a cardboard box.
This is a perfect first eco DIY project for anyone who has never tried upcycling before because it truly cannot go wrong and costs absolutely nothing.
What you need: a sturdy cardboard box lid, acrylic paint, a paintbrush, and optional lining paper or fabric.
Time: 30 minutes plus drying time.
Cost: Nothing.
7. Repurpose Old Ladders as Decorative Shelving
If you have an old wooden ladder stored in a garage or storage room that you no longer use, you are sitting on one of the best DIY recycled home decor ideas. A vintage wooden ladder leaning against a living room wall becomes instant open shelving with enormous character.
Sand the ladder smooth to remove any rough patches. Paint it or leave the natural wood showing, depending on your home’s style. Lean it against a wall at a slight angle and use each rung as a shelf: folded throws and blankets, small potted plants, a stack of books, a basket, a framed print leaned casually against the wall above.
In a bathroom, a leaning ladder is perfect for holding folded towels on each rung. In a bedroom, it works beautifully as a clothing rack with a few wooden hangers on the rungs. In a living room or reading corner, it becomes a charming display of books and plants.
The aged, imperfect look of a reclaimed ladder is exactly what makes it so appealing. The character it has developed over the years of use is now part of the decor.
What you need: an old wooden ladder, sandpaper, and paint or wood oil, if desired.
Time: 1 hour.
Cost: Nothing if you already own the ladder.
8. Create Cushion Covers From Old Fabric and Clothing
Here is one that feels especially satisfying. Those old curtains that no longer fit your windows, a shirt your husband never wears anymore, a tablecloth with a stain on one end, they all have enough good fabric in them to become beautiful cushion covers for your sofa or bedroom.
You do not even need to sew if you do not want to. Fabric glue and iron-on hem tape let you construct a basic envelope-style cushion cover with nothing more than scissors, a ruler, and a few simple folds. If you are comfortable with basic hand or machine stitching, the options expand considerably.
Choose fabrics with interesting patterns, textures, or colors that complement your existing decor. A tablecloth with a botanical print becomes a gorgeous cushion. A pair of curtains in a warm stripe can make three or four coordinating covers for a sofa refresh.
This is one of the most sustainable eco DIY projects because it gives fabric a meaningful second life rather than sending it to landfill, where textiles are unfortunately one of the most significant contributors to household waste.
What you need: Old fabric, scissors, fabric glue or needle and thread, cushion insert.
Time: 30 minutes to 1 hour per cover.
Cost: Nothing if using fabric you already own.
9. Build a Corkboard From Wine Corks
If your household goes through a bottle of wine every now and then, you may already have the materials for this project sitting in a drawer somewhere. Wine corks collected over time can be glued together inside an old picture frame to create a functional and charming corkboard for your kitchen, office, or entryway.
Arrange the corks in rows or a herringbone pattern inside the frame, trimming any that do not fit neatly with a sharp knife. Use strong craft glue or a hot glue gun to secure each cork in place. Let the whole thing cure overnight before using.
The finished corkboard is warm, textural, and genuinely unique. Mount it on the wall for pinning recipes, notes, photographs, shopping lists, and anything else that needs a home near the kitchen or front door.
If you do not have enough corks yet, many wine bars and restaurants are happy to give them away for free when asked. This is a project that builds itself gradually over time and feels all the more meaningful for it.
What you need: Collected wine corks, an old picture frame, a hot glue gun, and pushpins.
Time: 1 to 2 hours, plus curing time.
Cost: Nothing or very close to nothing.
10. Paint Old Furniture Instead of Replacing It
This one might be the most impactful of all the recycled home decor ideas DIY in this list. Before spending money on new furniture, consider whether an existing piece could be refreshed with paint.
An old wooden side table in a dated honey oak finish becomes a completely different piece of furniture with two coats of matte white or sage green chalk paint. A tired wooden chair becomes a statement accent piece in a bold terracotta or dusty navy. A scratched wooden dresser becomes something you would genuinely want to keep for another decade with the right paint color and new hardware.
Chalk paint is the most beginner-friendly option for furniture painting because it requires minimal surface preparation, adheres well to most surfaces without primer, and dries to a beautiful matte finish that suits almost every home style. Seal with a clear wax or water-based topcoat once dry for durability.
Changing the hardware at the same time, swapping old brass pulls for brushed nickel or matte black, makes the transformation feel even more complete.
What you need: Chalk paint, a good-quality brush or small foam roller, clear wax or sealer, and optional new hardware.
Time: One afternoon.
Cost: 20 to 40 dollars for paint and sealer.
11. Make a Hanging Plant Holder From Old T-Shirts
Here is a fun one that uses something most of us have too many of: old t-shirts we no longer wear. The fabric from an old cotton t-shirt can be cut into strips and braided or knotted into a macrame-style hanging plant holder that looks genuinely beautiful with a small potted plant inside.
Cut the t-shirt into long strips of roughly one inch wide. No hemming needed since the jersey fabric does not fray. Gather four to six strips together, fold them in half, and knot them at the top for hanging. Then use basic square knots and gathering knots to create a basket shape at the bottom that holds a small pot securely.
There are many simple tutorials available online that walk through the specific knotting technique step by step with clear photographs, making this very achievable for a complete beginner. The finished piece adds a boho, handmade quality to any room and costs absolutely nothing.
What you need: Old cotton t-shirts, scissors, a small pot and plant, a hook for hanging.
Time: 1 to 2 hours.
Cost: Nothing.
12. Create a Centerpiece From Natural Outdoor Materials
This one requires a walk outside rather than a trip to the craft store. Natural materials collected from your garden, a local park, or even the street are some of the most beautiful and completely free materials available for home decor.
Gather dried seed pods, interesting twigs, pine cones, smooth pebbles, fallen leaves, dried grasses, and any other natural objects that catch your eye. Arrange them in a shallow bowl, a wooden tray, or a basket on your dining table, coffee table, or mantel for a centerpiece that changes with the seasons.
For a more permanent display, spray paint pine cones and seed pods in matte gold, white, or deep green for a more styled, intentional look. Arrange them with candles and a few dried stems for a centerpiece that could genuinely be mistaken for something from an expensive home decor store.
This is eco DIY projects at its purest: zero cost, zero waste, and completely beautiful.
What you need: Natural materials collected outdoors, a bowl or tray, and optional spray paint.
Time: 20 to 30 minutes.
Cost: Nothing.
13. Upcycle a Wooden Pallet Into Wall Art
A single wooden pallet, the kind used for shipping and often available for free from hardware stores, garden centers, or furniture shops, can be transformed into a large-scale piece of wall art that makes a dramatic statement in any room.
Sand the pallet thoroughly to remove splinters and rough patches. Paint the entire surface in one solid color, or apply a geometric design using painter’s tape as a guide. You can also write a favorite quote across the surface in hand-lettered paint, stencil a simple botanical design, or leave the natural wood showing and simply seal it with a clear matte varnish.
Mount it horizontally or vertically on a wall as a statement piece. It works beautifully in living rooms, bedrooms, kitchens, and even outdoor covered balconies or patios.
The scale of a full pallet means it fills a wall the way that expensive large-format art does, for a cost of practically nothing beyond the paint.
What you need: Wooden pallet, sandpaper, paint or stain, clear varnish, and wall mounting hardware.
Time: One afternoon.
Cost: 5 to 15 dollars.
Little Tips to Make Your Recycled Decor Look Really Good
You do not need to be a professional designer for your upcycled pieces to look polished and beautiful. A few simple habits make a big difference:
Always clean and prep your materials before starting. A jar with old food residue, a can with rough edges, or a piece of furniture with greasy surfaces will not hold paint or glue well, and the finished result will show it.
Take your time with paint. Two thin coats always look better than one thick one. Rushing leads to drips, streaks, and uneven coverage that no amount of extra coats will fully fix.
Group your finished pieces together. Three rope-wrapped jars together look intentional and designed. Three rope-wrapped jars scattered across different rooms of the house look random. Cohesion comes from grouping.
Choose a color story and stick to it. If your home uses warm neutrals like cream, terracotta, and sage, make your recycled decor pieces in those same tones. Everything will look like it belongs together even though it came from completely different source materials.
Why Recycled Home Decor Is Worth Your Time
Beyond the obvious budget benefits, making your own decor from recycled materials connects you to your home in a way that buying things never quite does. Every time you see that wine bottle vase on your counter or those painted tin can herb pots on your windowsill, you remember making them. That quiet sense of pride and ownership is genuinely valuable.
From a sustainability standpoint, eco DIY projects using recycled and upcycled materials reduce household waste, lower consumption of new manufactured goods, and decrease the environmental impact of decorating your home. The U.S. Environmental Protection Agency consistently highlights waste reduction at the household level as one of the most accessible and meaningful contributions individuals can make toward environmental sustainability.
You do not have to be deeply eco-conscious to appreciate those benefits. You just have to love a beautiful home made with your own hands, which, if you have read this far, you clearly do.
Final Thoughts on Recycled Home Decor Ideas DIY
The best thing about recycled home decor ideas DIY is that they meet you exactly where you are. You do not need to be crafty, experienced, or well-equipped. You just need to look at the things you already have a little differently and be willing to try.
Start with one project from this list today. The easiest one, the one that uses something you were literally about to throw away. Make it, put it somewhere you will see it, and notice how it feels to have made something beautiful with your own hands from nothing much at all.
Once you feel that, we promise you will not stop at one.