We’ve all been there. It’s mid-December, your breath is visible in the crisp air, and you’re standing on a slightly-too-wobbly ladder with a giant, tangled ball of green wire in one hand and a staple gun in the other.
You tell yourself, “If I just get them up there, it’ll look fine.”
But deep down, you know there has to be a better way. I admit, I used to be a “staple-it-and-pray” kind of decorator. That was until the year half my roofline went dark two days before Christmas because a rusty staple had pierced the copper wire. Not only did I ruin the lights, but I also left dozens of tiny holes in my fascia boards.
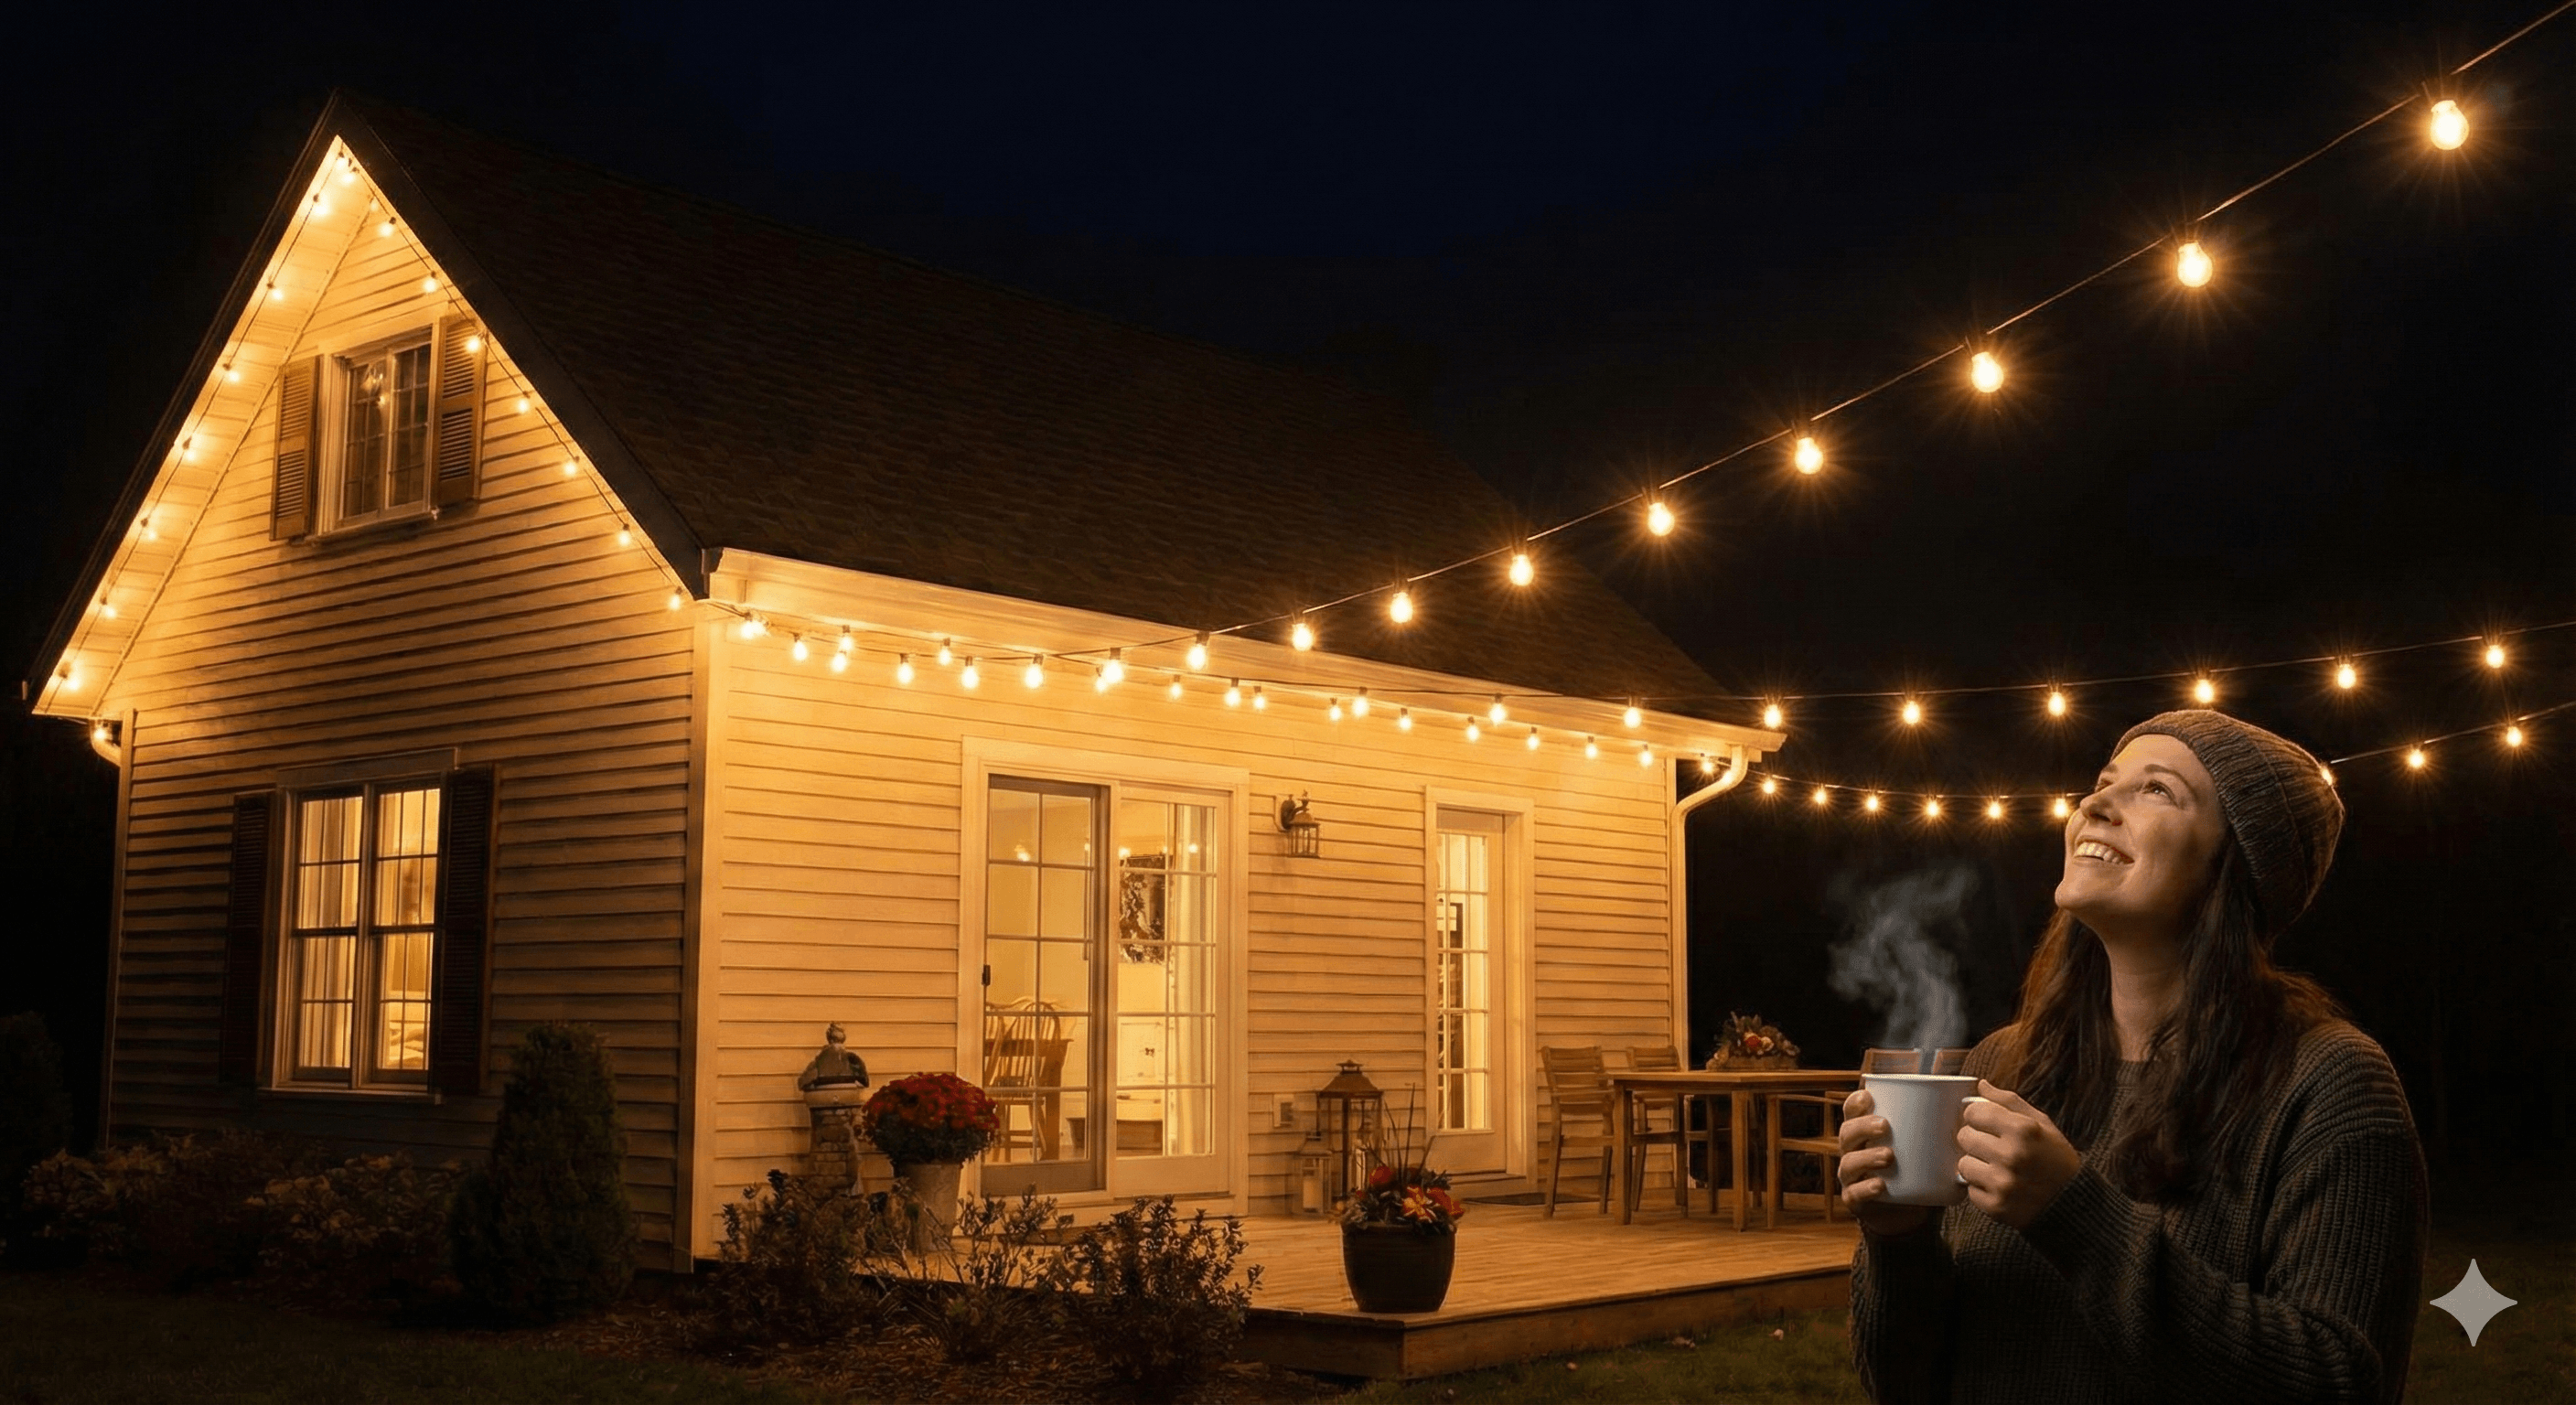
That was the turning point. I learned that hanging lights the right way isn’t just about safety (though that is priority number one); it’s about creating that magical, professional look, where the lines are straight, the bulbs are evenly spaced, and the whole house seems to glow. There is honestly no better feeling than pulling into the driveway after a long day and being greeted by that warm, welcoming light.
So, do yourself (and your roof) a favor: put down the staple gun and grab a hot cocoa. In this guide, I’m going to walk you through right way to hang string lights outside so they look professional, stay secure through winter storms, and leave zero damage behind when January rolls around.
Step 1: The “Boring But Crucial” Prep
I know, I know. You want to get the lights up now. But if you skip this step, I promise you’ll be making a second trip to the hardware store (or worse, taking everything down to reposition it).
Measure Twice, Climb Once The biggest mistake people make? Eyeballing it. You might look at your roofline and think, “That’s about 30 feet.” In reality, it’s 42 feet, and now your extension cord is dangling in mid-air, three feet short of the outlet.
- Pro Tip: If you don’t have a long tape measure, use a ball of twine or string. Walk the path you want your lights to take up the porch column, along the gutter, and down the side. Cut the string, then measure that string on the ground. This is especially helpful for wrapping trees or curved pathways!
The Ground Test There is a specific kind of heartbreak reserved for someone who spends two hours clipping lights to a second-story eave, only to plug them in and realize the middle strand is dead.
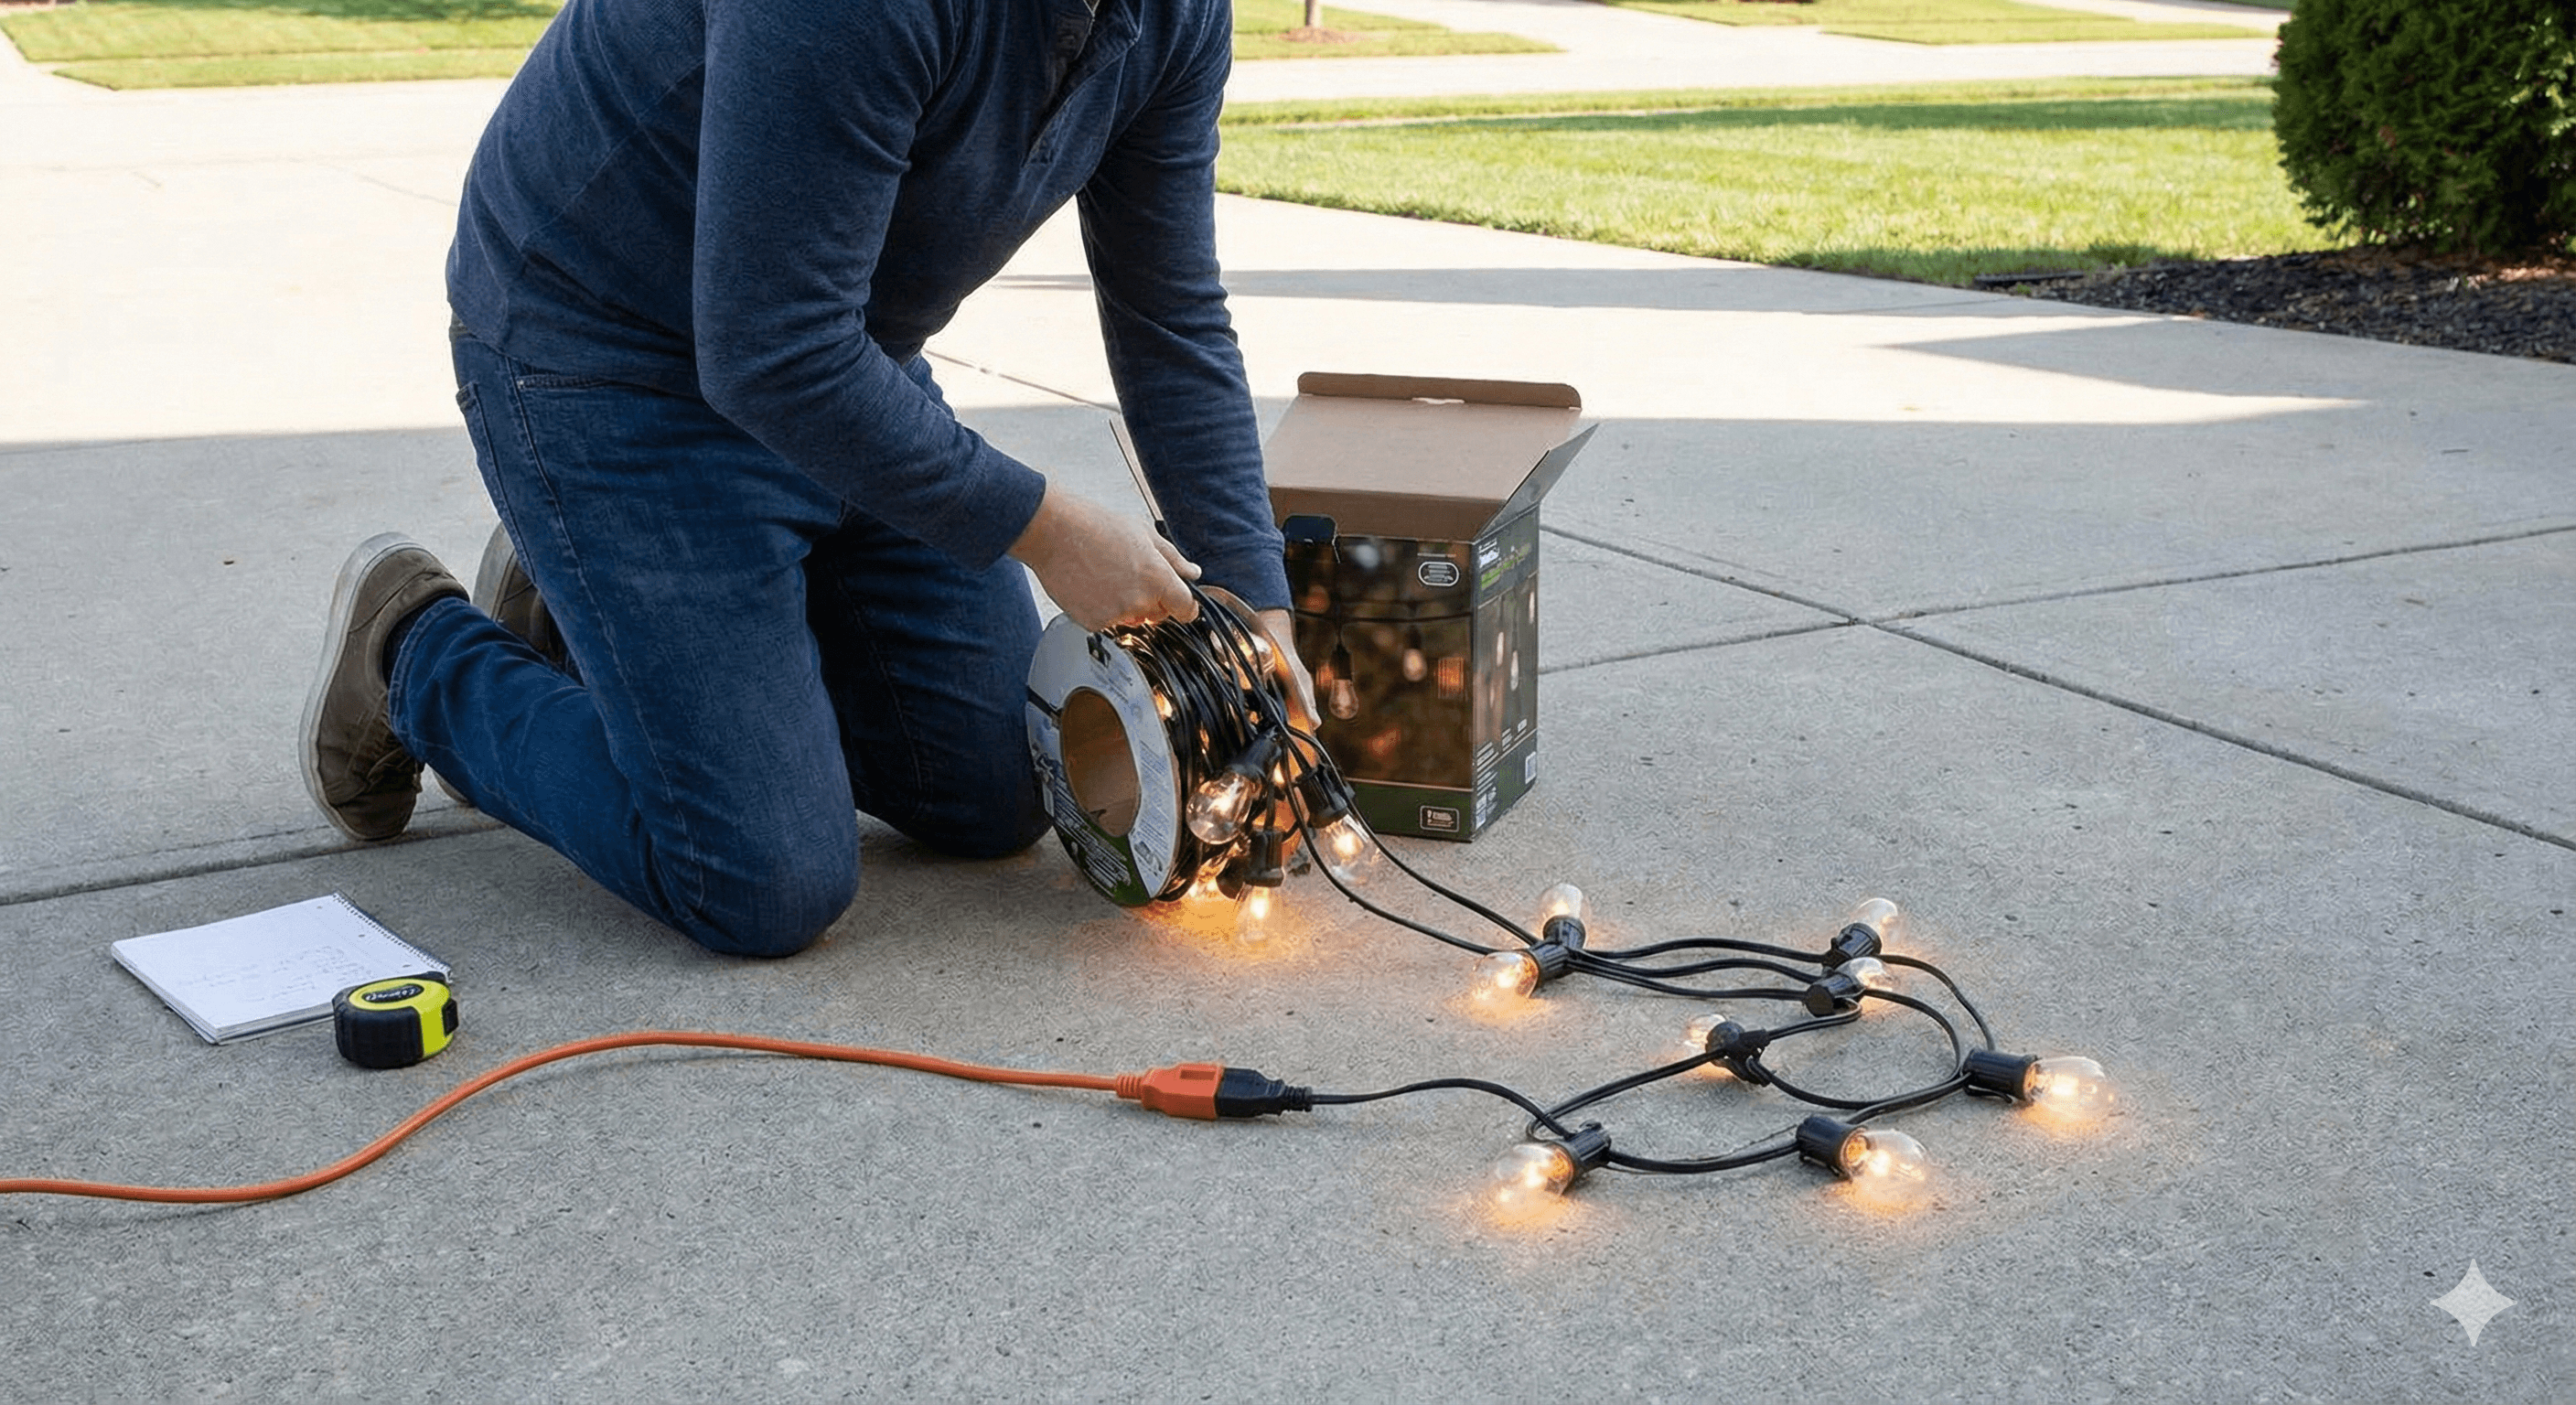
Before you even bring the ladder out, unbox everything. Plug every single strand in on the ground. Leave them on for 5-10 minutes. This warms up the wiring and makes the plastic more flexible and easier to straighten out (especially if they’ve been coiled up in a freezing garage all year).
A Note on Bulbs: If you are still holding onto those old incandescent glass bulbs from 1998, it might be time to upgrade to LED. They are lighter (easier to hang), they don’t get hot, and you can connect way more strands together without blowing a fuse.
Step 2: Gather the Right Tools (No Staple Guns Allowed)
If you take one thing away from this article, let it be this: Put the staple gun away.
Staples damage your home’s siding, they rust and stain your paint, and if you accidentally nick the wire’s insulation, you create a fire hazard. Here is the hardware you should use instead for a clean, professional look.
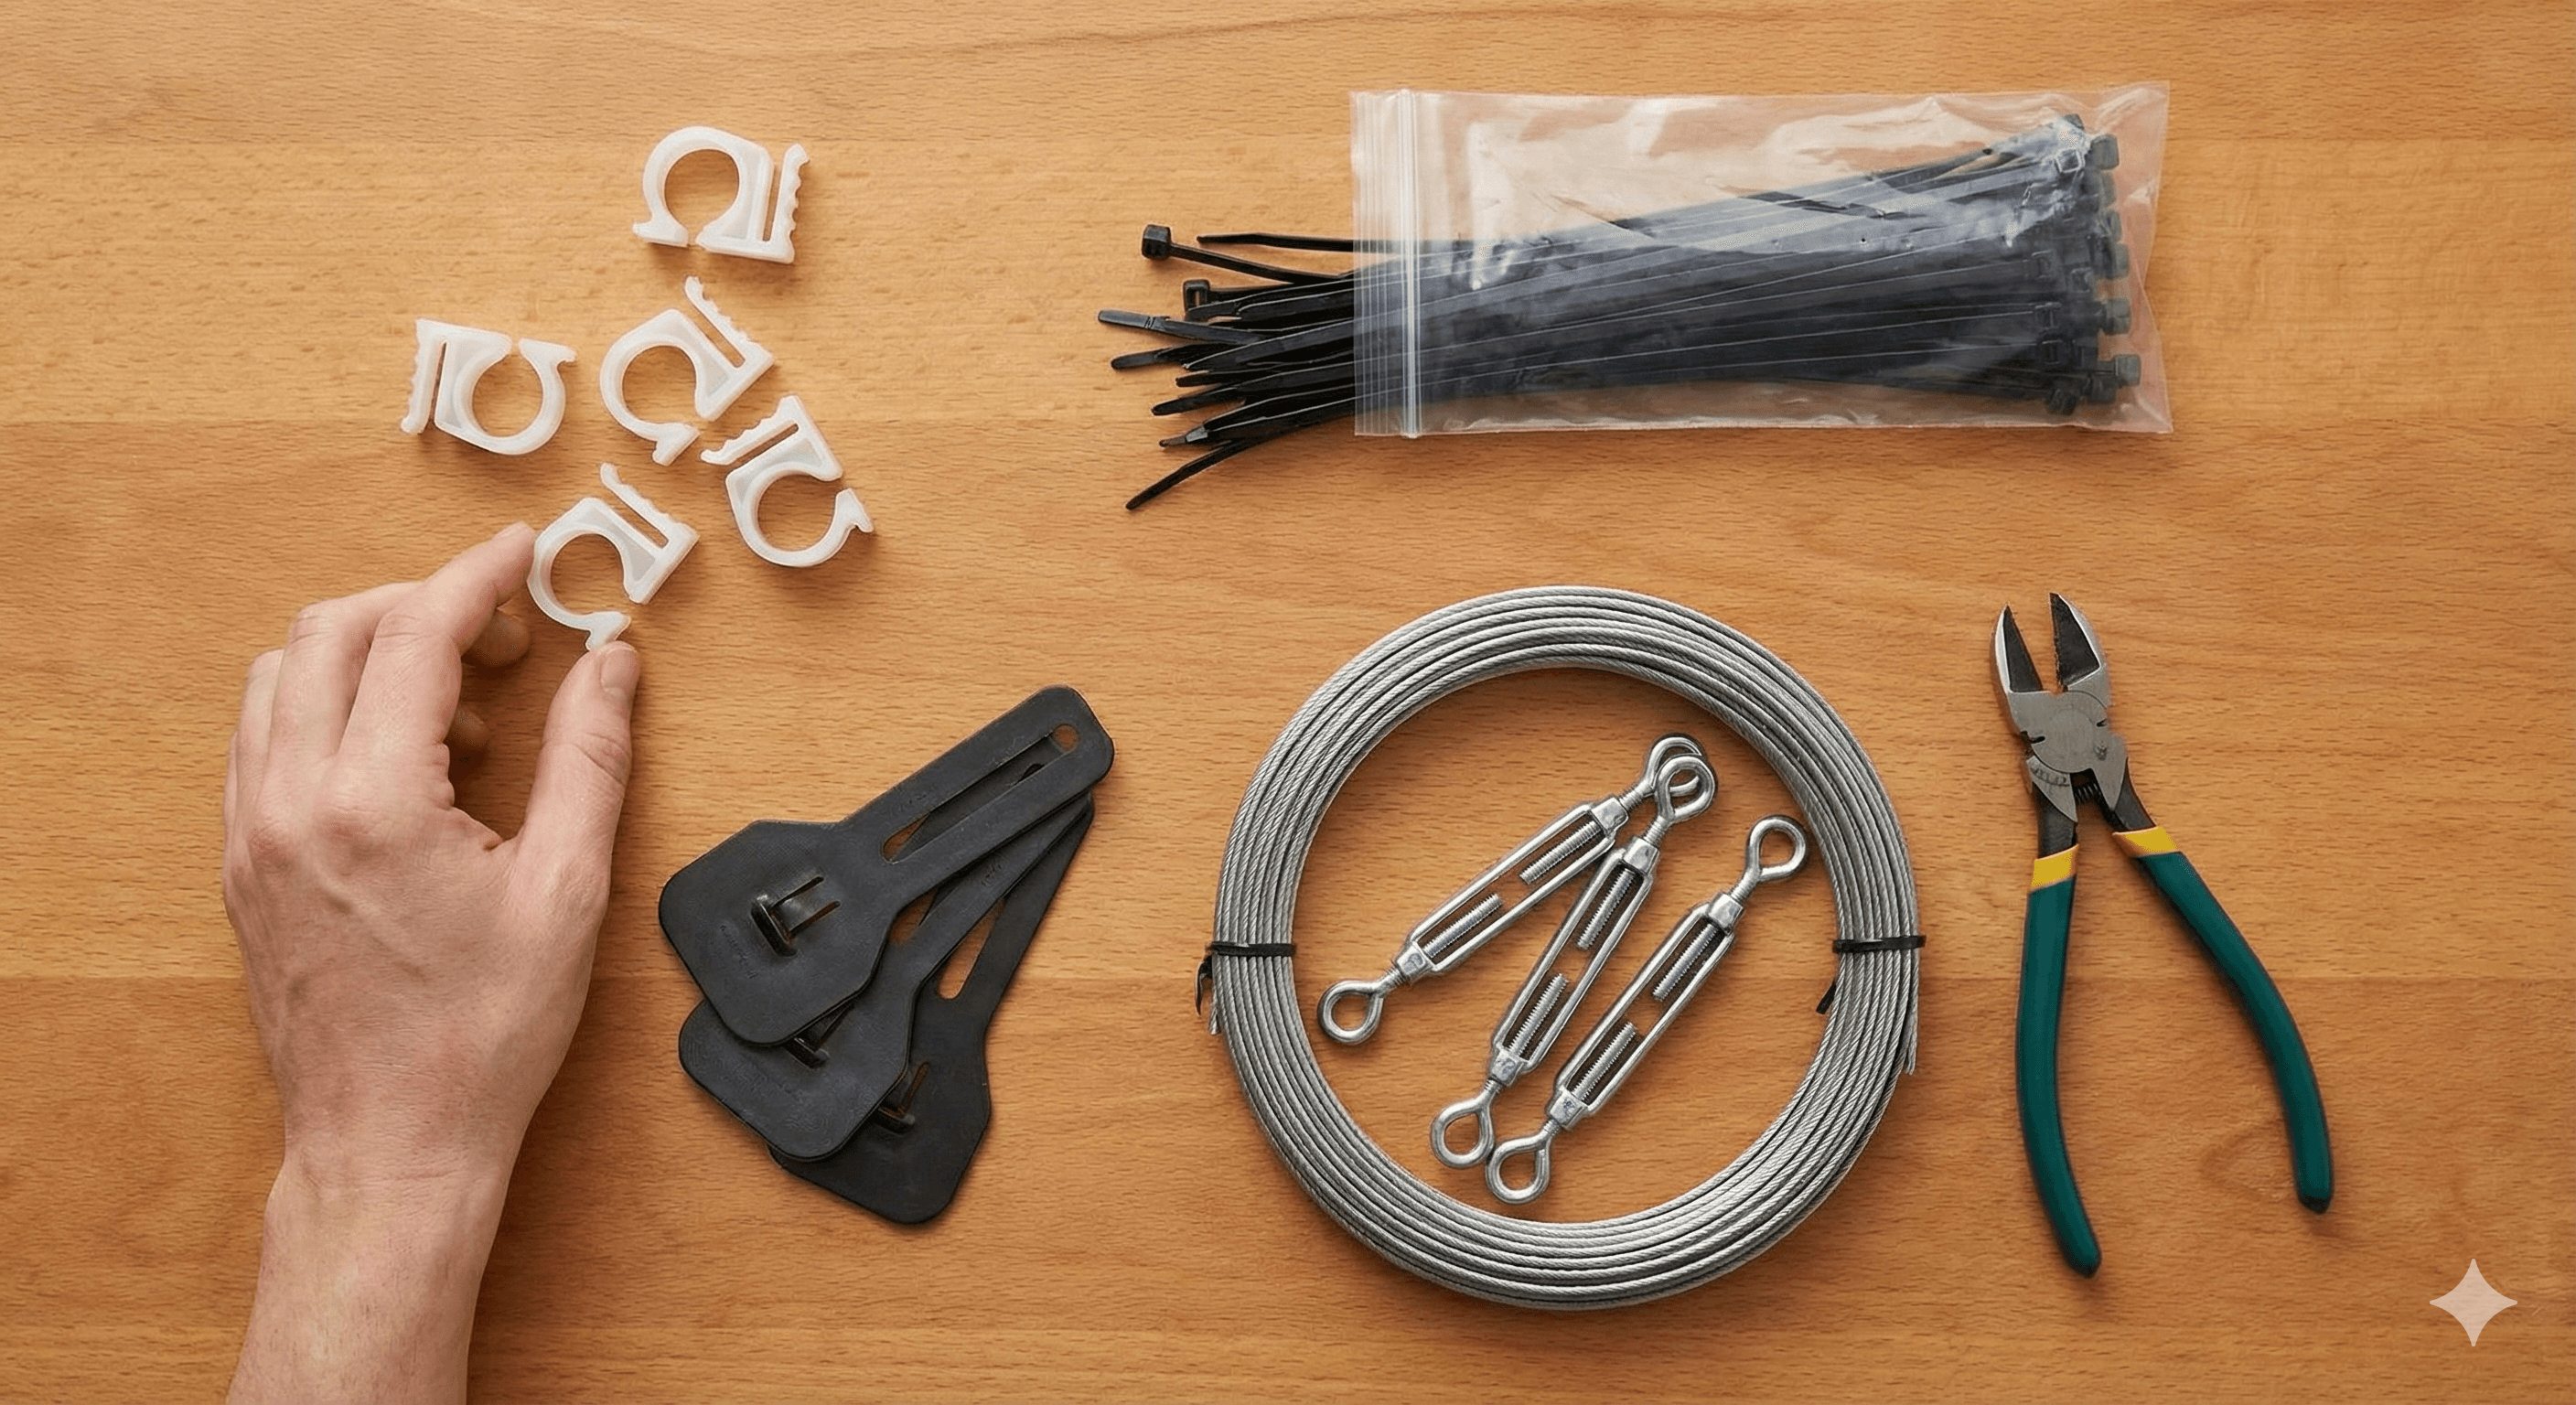
1. Plastic Clips and Shingle Tabs These are cheap, effective, and save you so much time.
- For Gutters: Look for “S” clips that hook right over the lip of the gutter.
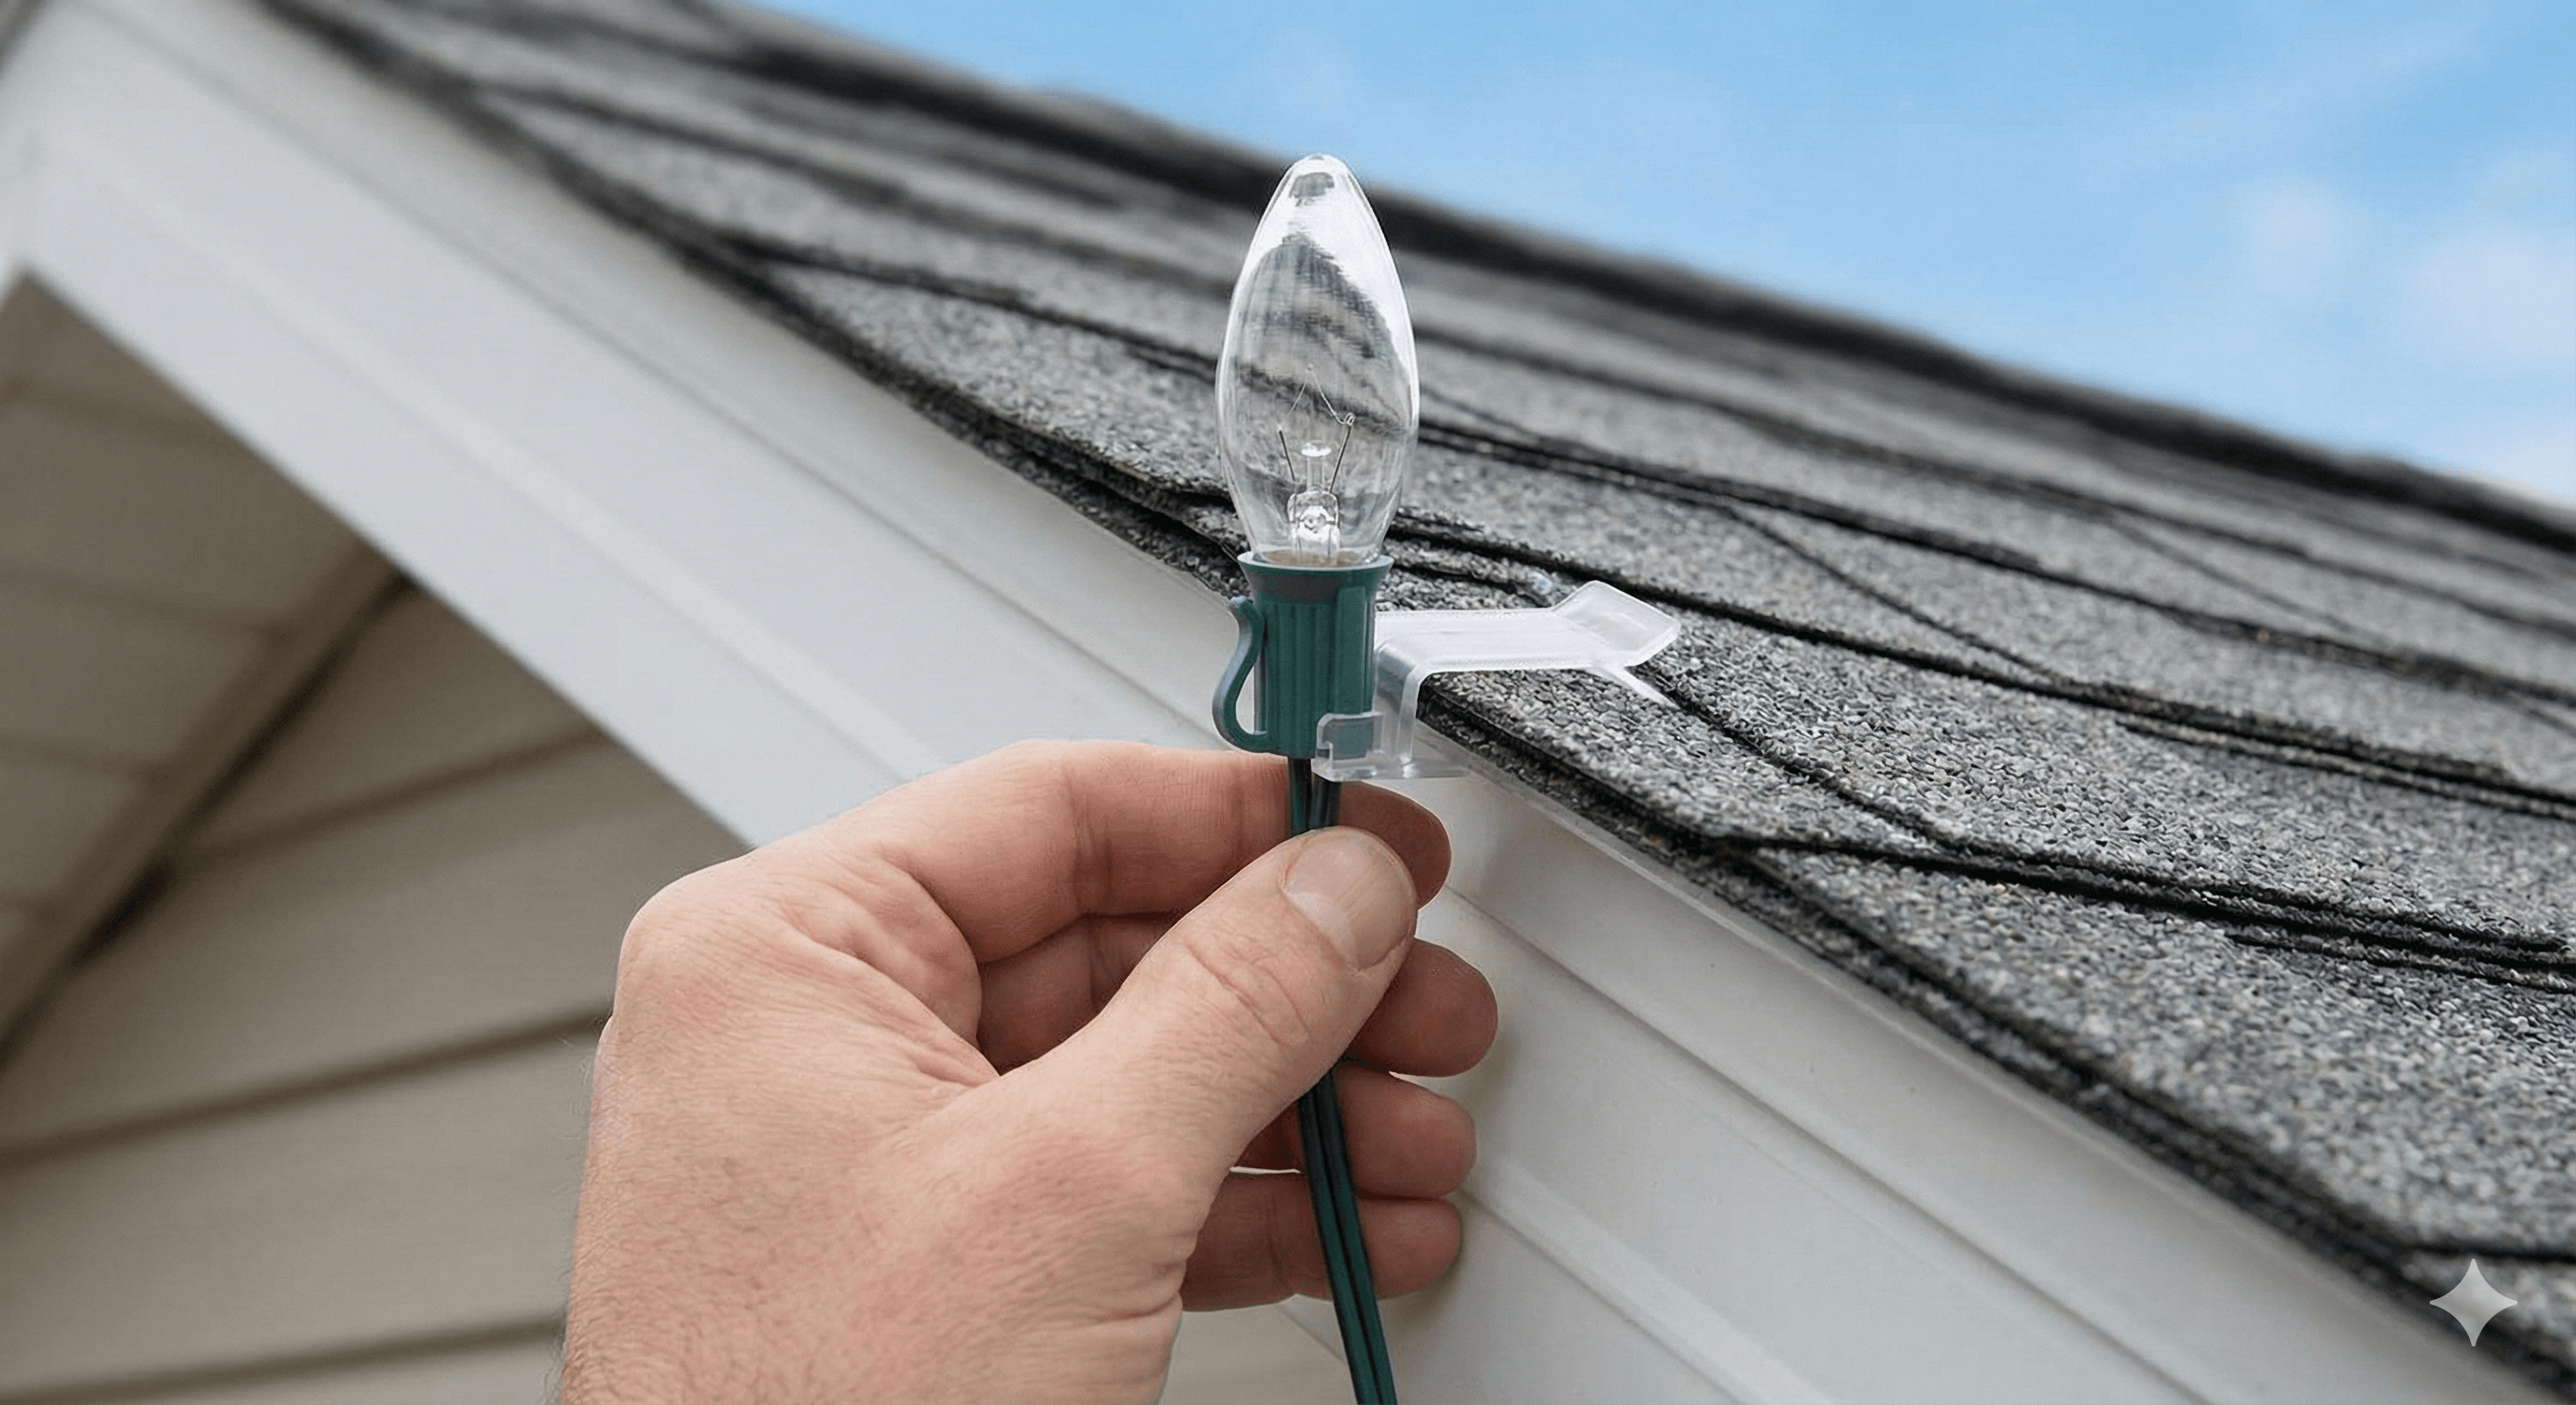
- For Rooflines: Use shingle tabs that slide under the asphalt shingle or grip onto the fascia board. They hold the bulb upright and perfectly straight, giving you that uniform “gingerbread house” look.
2. Zip Ties (The Unsung Hero) For porch railings, banisters, or thick tree branches, black or green zip ties are your best friend. They hold tight and disappear into the background. just remember to snip the “tails” off for a clean finish.
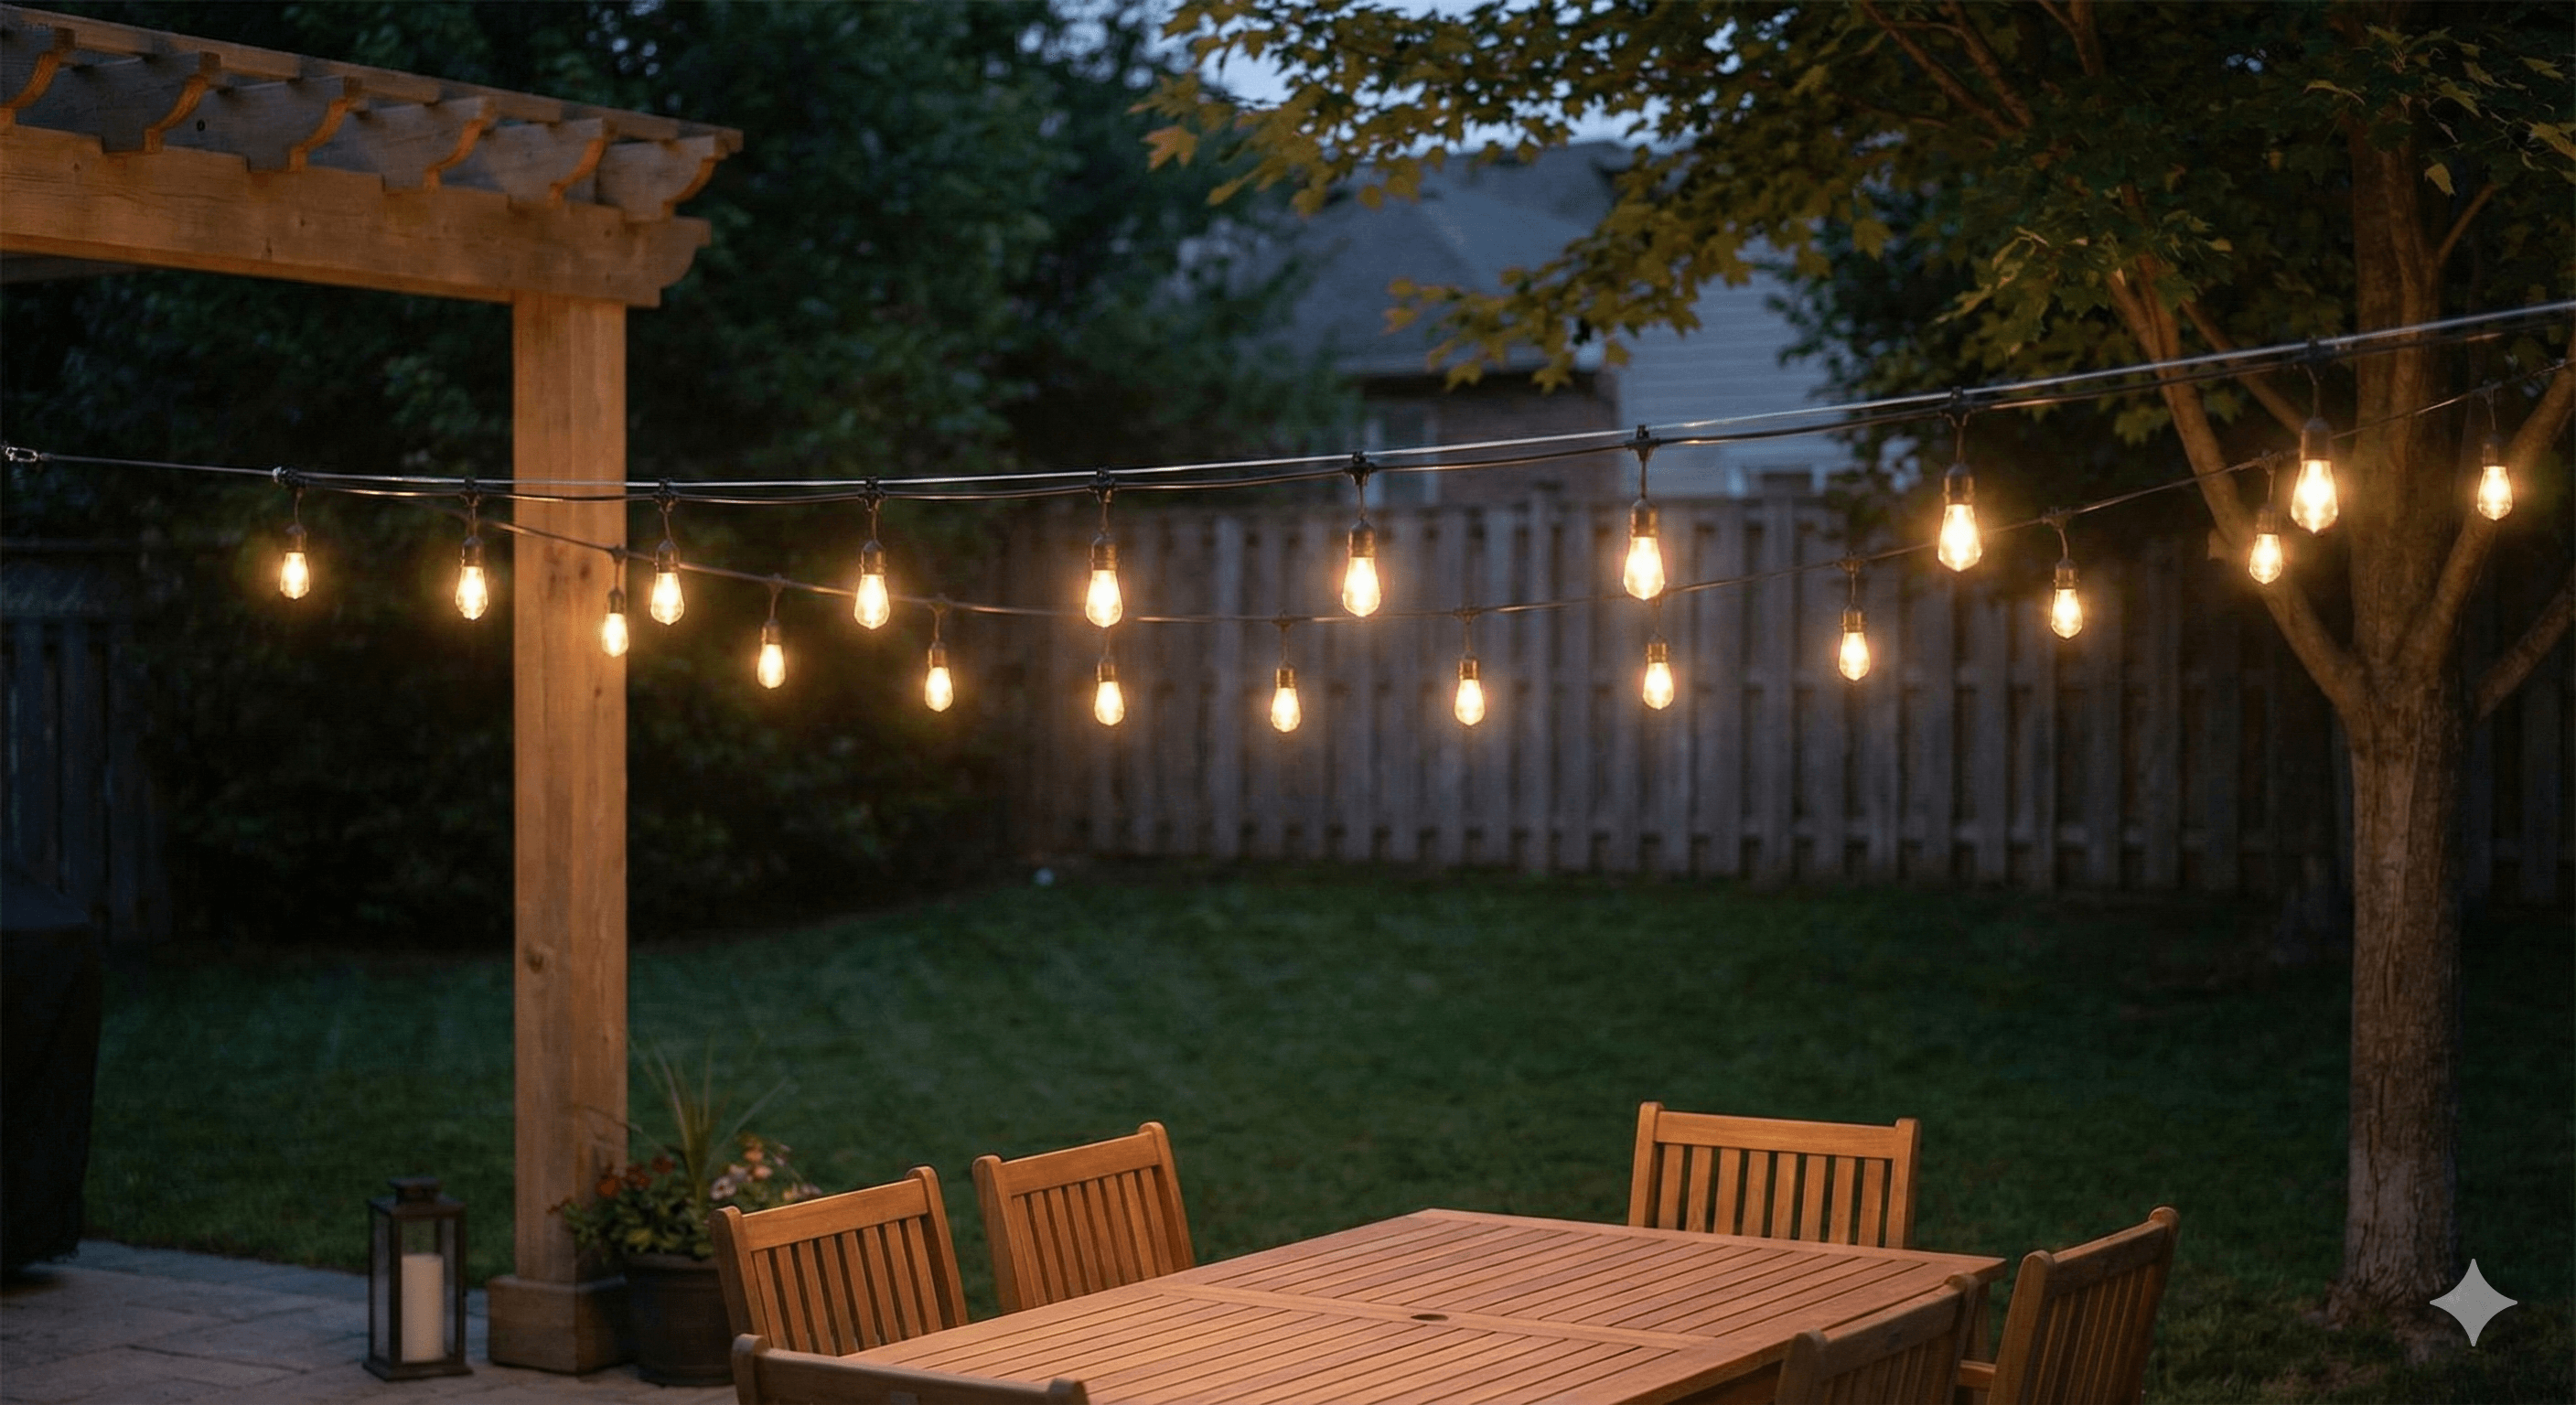
3. Guide Wire (The Secret Sauce) Have you ever seen string lights zigzagging across a patio that look droopy and sad? That’s because the electrical cord isn’t designed to support its own weight over long distances. If you are hanging heavier “bistro” style lights or spanning a gap wider than 8 feet, you need a guide wire kit (often called aircraft cable).
- How it works: You pull this thin metal wire tight between two points, and then you clip your lights to the wire. This takes all the tension off the electrical cord and keeps your lights perfectly straight and taut.
4. Outdoor Timer Because nobody wants to go outside in their pajamas at 11 PM to unplug the lights. Get a timer with a dusk-to-dawn sensor so your house lights up automatically the moment the sun goes down.
Here is Step 3: Installation Techniques. This is the core instruction part of the article, so I’ve broken it down by specific locations to make it easy for readers to skip to the part they need.
Step 3: Installation Techniques (Location by Location)
Now that you’ve done the prep work, it’s time to actually hang the lights. This is where patience pays off. Don’t rush; think of yourself as an artist painting with light.
Scenario A: The Roofline (The Classic Look) This is the most common Christmas setup, but the difference between “okay” and “amazing” is in the details.
- Start at the Source: Always start hanging from the plug end (closest to your outlet). There is nothing worse than perfectly clipping 50 feet of lights only to realize the plug is three feet away from the extension cord.
- Clip, Don’t Drape: Use those plastic clips we talked about. Slide the clip onto the gutter or shingle first, then snap the bulb into place.
- Mind the Orientation: For the cleanest look, make sure every bulb is pointing the same way. If you’re using C9 bulbs (the big, old-school strawberry-shaped ones), point them all upright for a taller, grander feel, or point them all down for a dripping icicle effect. Consistency is key!
Scenario B: Across the Yard or Patio (The “Bistro” Look) Hanging lights across an open space is tricky because gravity works against you. If you just stretch the cord tight, it will eventually sag, look messy, and put stress on the copper wiring inside.
This is where you use the Guide Wire technique:
- Install Anchors: Screw sturdy hooks or eye bolts into the solid wood of your house, fence, or a securely planted post.
- Run the Wire: String your aircraft cable (guide wire) between the anchors and pull it tight using a turnbuckle. It should look like a tightrope.
- Attach the Lights: Once the wire is secure, loop your string light strand along it. Use zip ties or small carabiners to clip the light strand to the wire every 12 to 24 inches.
- Why this wins: Your lights will hang perfectly straight, they won’t swing wildly in the wind, and you won’t damage the electrical cord.
Scenario C: Brick, Stone, and Stucco Hard surfaces are intimidating because nobody wants to drill holes into their brickwork. But you have options!
- Brick Clips: If you have standard brick with recessed mortar, “Brick Clips” are a lifesaver. They use spring tension to grip the brick edges without any adhesive or screws.
- Hot Glue (The Pro Trick): This sounds crazy, but professional installers do it all the time for rough stucco or stone where clips won’t stick. Use a dab of hot glue on the base of the socket (never on the wire itself!) and press it onto the surface for 10 seconds.
- Warning: Do not use this on painted surfaces (it will peel the paint when removed) or smooth plastic siding. But on rough stone? It works like a charm and pops right off with a putty knife in January.
Step 4: Power and Safety (Don’t Skip This!)
You’ve measured, you’ve clipped, and your house is looking amazing. But before you plug it all in and call the neighbors over, we need to talk about electricity. Outdoor lights have to deal with rain, snow, and melting ice, so safety is non-negotiable.
Waterproof Your Connections The most common spot for lights to fail is where two strands plug together. Water gets in, trips the breaker, and suddenly you’re in the dark.
- The Budget Fix: Wrap the connection tightly with electrical tape.
- The Pro Fix: Buy a “twist and seal” cord protector. They are little plastic capsules that snap over the plugs to keep them completely dry. They are worth every penny for peace of mind.
Use the “Outlet with the Buttons” (GFCI) Always plug outdoor lights into a GFCI outlet (Ground Fault Circuit Interrupter). You know the ones, they have the little “Test” and “Reset” buttons in the middle. If water gets into the system, this outlet cuts the power in a split second to prevent shocks or fires. If you don’t have one outside, use a portable GFCI adapter.
The Buddy System I mentioned this in the intro, but it bears repeating: Never do high ladder work alone. Ladders on frozen or wet ground can slip. Bribe a friend, partner, or neighbor with cookies or hot coffee to stand at the bottom and hold the ladder steady. It’s safer, and frankly, it’s much more fun to have someone on the ground telling you, “Move that one a little to the left!”
Conclusion: The Grand Reveal
There is a specific moment that makes all this effort worth it. It’s when you climb down the ladder for the last time, gather your family in the driveway, and finally flip the switch.
When you do it the “right way” with straight lines, no damaging staples, and safe connections, the result isn’t just “lights on a house.” It looks polished. It looks magical. And best of all, you can sleep soundly knowing your roof is safe and your lights won’t come crashing down in the first winter storm.
So, grab your cocoa, enjoy the glow, and pat yourself on the back. You didn’t just hang lights; you created a scene.
I’d love to see your setups! Did you try the guide wire trick? Did you finally ditch the staple gun? Drop a comment below with your success stories (or share your funniest “lighting fail” from years past, we promise not to judge!).