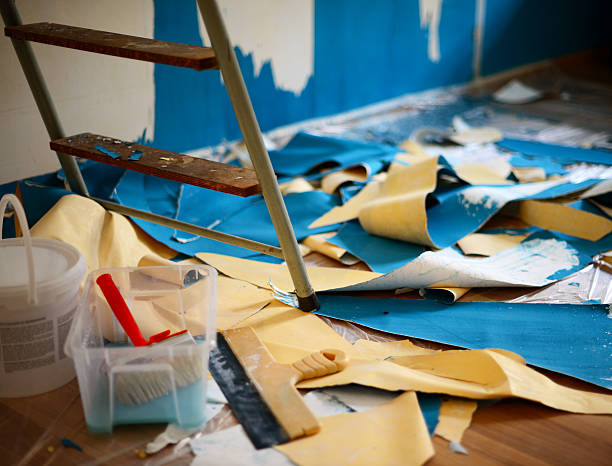
Wallpaper can transform and change the look and feel of any room, but there may come a time when you want to upgrade your space with a fresh coat of paint or a new wallpaper design. Removing wallpaper from walls can seem like a daunting task, but with the right approach and set of tools, it can be a relatively turn into a easy DIY activity. Today, we will guide you through the steps on how to remove wall wallpaper effectively.
1. Gather the Necessary Supplies
Before you begin, gather the following supplies:
– Gather drop cloths or sheets of plastic to protect your floor and furniture from the unwanted dust.
– Painter’s tape to secure the drop cloths and protect baseboards or trim.
– A scoring tool or a wallpaper perforating tool.
– Wallpaper removal chemical or desi jugad of a mixture of hot water and fabric softener.
– A sponge or spray bottle for applying the removal solution.
– A putty knife or scraper.
– Sandpaper or a sanding block. – A bucket or container for the removal solution.
2. Prepare the Room
Start by preparing the room for the wallpaper removal process. Move furniture away from the walls and cover the floor and any remaining furniture with drop cloths or plastic sheets. Use painter’s tape to secure the drop cloths and protect baseboards or trim from any potential damage.
3. Test an Inconspicuous Area
Before diving into the entire wall, it’s a good idea to test a small, inconspicuous area of the wallpaper. This will help you determine the best removal method and avoid any potential damage to the wall surface. Score the wallpaper using a scoring tool or a wallpaper perforating tool to allow the removal solution to penetrate the adhesive.
4. Apply the Removal Solution
Next, prepare the removal solution by following the instructions on the product label. Alternatively, you can create your own mixture by combining hot water and fabric softener in a bucket or container. Use a sponge or spray bottle to apply the removal solution to the wallpapered surface. Ensure the wallpaper is thoroughly saturated but not overly soaked.
5. Allow the Solution to Soak
Once you’ve applied the removal solution, allow it to soak into the wallpaper for the recommended amount of time. This will help loosen the adhesive and make the removal process easier. Be patient and follow the instructions provided with the solution
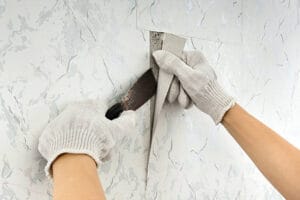
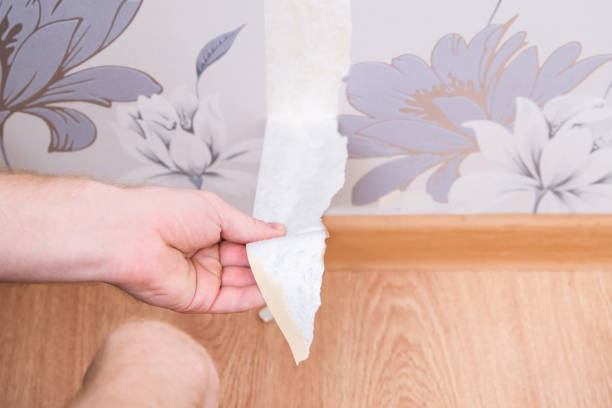
6. Start Removing the Wallpaper
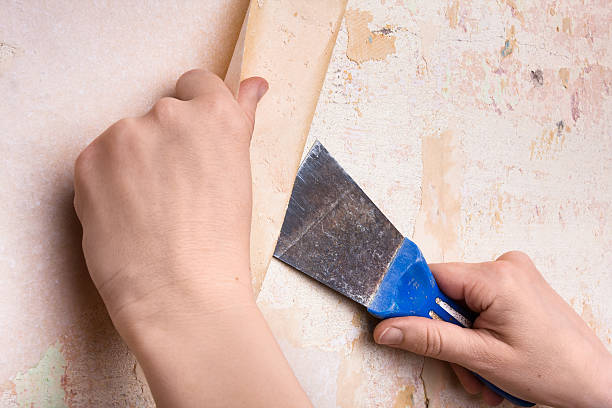
After the soaking period, you can begin removing the wallpaper. Use a putty knife or scraper to gently lift the edges of the wallpaper, starting from the bottom. Be careful not to damage the underlying wall surface while scraping. If you encounter stubborn areas, apply more removal solution and let it soak for a little longer before attempting to scrape again.
7. Clean and Sand the Walls
Once the wallpaper has been completely removed, clean your walls with warm water and a mild detergent to remove any remaining adhesive residue. If there are any rough patches or stubborn adhesive spots, gently sand them using sandpaper or a sanding block to achieve a smooth surface.
8. Rinse and Dry the Walls
After cleaning and sanding, rinse the walls with clean water to remove any detergent residue. Use a clean cloth or sponge for this step. Allow the walls to dry thoroughly before proceeding to the next step, as any remaining moisture could affect the new wall treatment.
Here are some additional tips for removing wallpaper:
- If the wallpaper is old or difficult to remove, you may need to use a wallpaper steamer.
- Be careful not to over steam the wallpaper, as this can damage the drywall.
- If you are using a wallpaper stripper, be sure to wear safety glasses and gloves to protect yourself from the chemicals.
If you are removing wallpaper from a textured wall, you may need to use a scoring tool to make more holes in the paper.
Wrappings Note
Removing wallpaper from walls may require some time and effort, but with the right tools and techniques, it can be a fun DIY activity. Remember to prepare the room, test an inconspicuous area, apply a removal solution, and patiently remove the wallpaper. With a bit of perseverance, you’ll be able to restore your walls to a blank canvas ready for a fresh coat of paint or new wallpaper that reflects your updated style.