Curtains. They’re just fabric panels, right? Just hang them up and suddenly, the whole room feels warmer and more inviting. But if you’ve ever stood in front of a bare window with a measuring tape in one hand and a drill in the other, sweating over where exactly that curtain rod should go, you know it’s not quite that simple.
Let’s be honest: hanging curtains is one of those deceptively “simple” home upgrades that can quickly go sideways if you’re not paying attention to the details. If you hang them too low, the room can end up looking shorter. Too short, and they feel like high-water pants. Use the wrong brackets? You’ll be staring at a slow-motion curtain collapse every time you open the window.
But don’t worry. We’re about to walk through every step of this curtain-hanging circus together. No design degree required. Just a little patience, a few tools, and a solid plan on how to hang curtains.
Step 1: Let’s Talk Types of Curtain Rods (Because Not All Rods Are Created Equal)
Curtain rods are like the jeans of the window world fit matters. And no, you can’t just pick the cheapest one from Target and expect it to work for every room.
Here’s what’s out there:
- Standard rods: The classic, extendable rods you probably picture. Great for most rooms, unless your curtains are really heavy.
- Tension rods: Renter-friendly and drill-free, but not ideal for big windows or thick curtains.
- Double rods: Perfect if you’re layering sheers and blackout panels. Think privacy plus light control.
- Traverse rods: More old-school, but handy if you want to pull curtains with a cord. Chances are, your grandma had these in her living room.
- Motorized rods: Yes, these are real. If you love tech and hate reaching, they’re worth looking into.
Now, once you pick your rod, don’t forget the brackets. Chances are, your grandma had these in her living room. Most sets come with them, but if you’re going for something stylish or sturdy, make sure they match your rod’s diameter and can handle the curtain weight.
Pro tip: if your curtains are especially thick (looking at you, velvet), pick brackets that hold the rod a few inches off the wall. It makes the curtains hang nicer and open smoother.
Step 2: Where Should That Rod Go, Anyway?
You’d think the answer would be “above the window,” and yes, it is. But how far above part? That’s where things get interesting.
The Golden Rule: Higher is Better
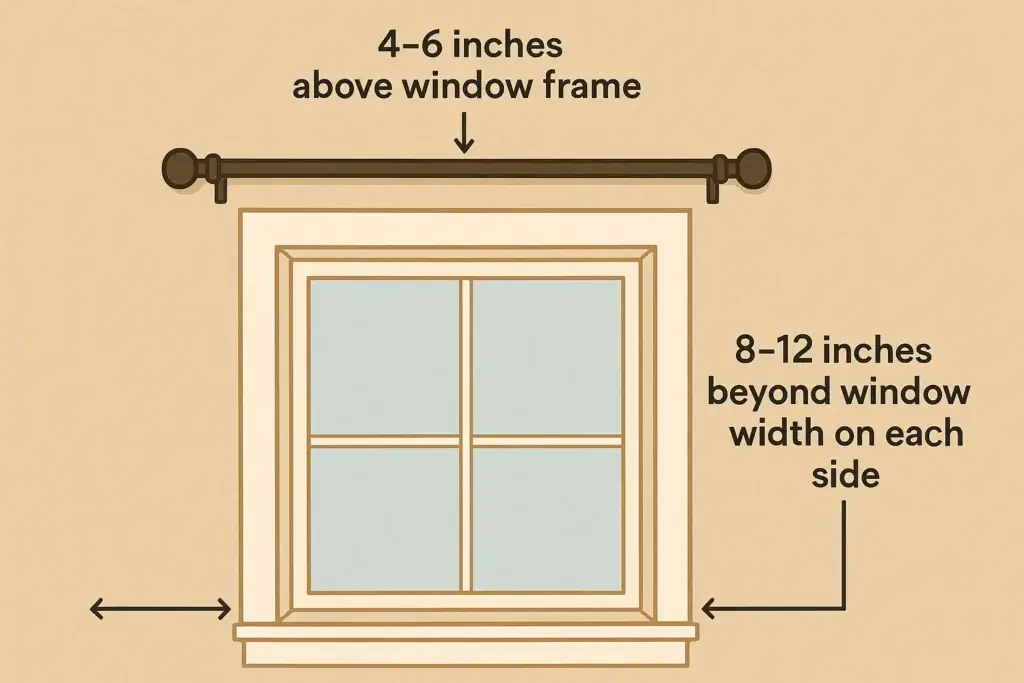
Position the curtain rod about 4 to 6 inches above the window frame to give the space a more balanced and polished appearance. Want to make your ceilings feel taller? Push it closer to the ceiling, especially in rooms with low windows or standard 8-foot ceilings.
Ever walk into a room and feel like it’s breathing a little better? That’s usually because someone hung the curtains right.
Don’t Forget the Width
A lot of folks hang their rods just as wide as the window frame. That’s a rookie move. For a more open look, and to let in more light, extend the rod 8 to 12 inches past the window on either side. That way, your curtains can gather neatly at the sides without covering up the window when they’re open.
Basically, you’re framing the window like a piece of art.
Step 3: Sizing Things Up Length and Width That Actually Works
Okay, you’ve figured out where the rod goes. Now comes the fun part: making sure your curtains are the right size.
Curtain Length: It’s a Vibe
You’ve got a few style options here, and each gives a different mood:
- Floating (½ inch off the floor): Clean, modern, practical.
- Breaking (just kissing the floor): Classic and a bit more formal.
- Puddling (several inches on the floor): Dramatic and elegant. Great for bedrooms or romantic settings, not ideal if you have pets.
Want our two cents? Go for floating in high-traffic areas like living rooms or kitchens and breaking or puddling where you want a cozier feel.
Curtain Width: More is More
Aim for curtain panels that are one and a half to three times wider than your window to create a full, balanced look. That’s right. Don’t skimp on fabric unless you want them to look like sad little sheets barely covering the glass.
You want fullness. You want flow. You want that hotel-lobby luxury, even if you’re working with IKEA panels.
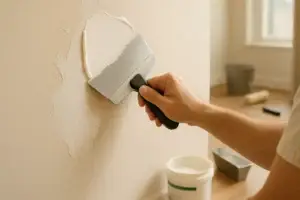
Step 4: Mounting the Curtain Rod Brackets (AKA, The Power Tool Portion)
Time to roll up those sleeves. Let’s get those curtain rod brackets on the wall.
What You’ll Need:
- Tape measure
- Pencil
- Level (or a good eye and a lot of confidence)
- Drill
- Anchors (for drywall)
- Screws
Installation Steps:
- Measure Twice: Mark where your curtain rod brackets will go based on the height and width you chose earlier.
- Check for Level: Uneven brackets make for sad, slanted curtains. Trust us.
- Drill Pilot Holes: Makes the screws go in smoother and reduces wall damage.
- Insert Anchors (if needed): Especially if you’re not hitting a stud. Don’t skip this.
- Screw in the Brackets: Tight and secure. You don’t want these wobbling after you hang the curtains.
Hot tip: If you’re working solo, use painter’s tape to mark bracket spots and even hold the rod while you work. It’s like having an invisible helper.
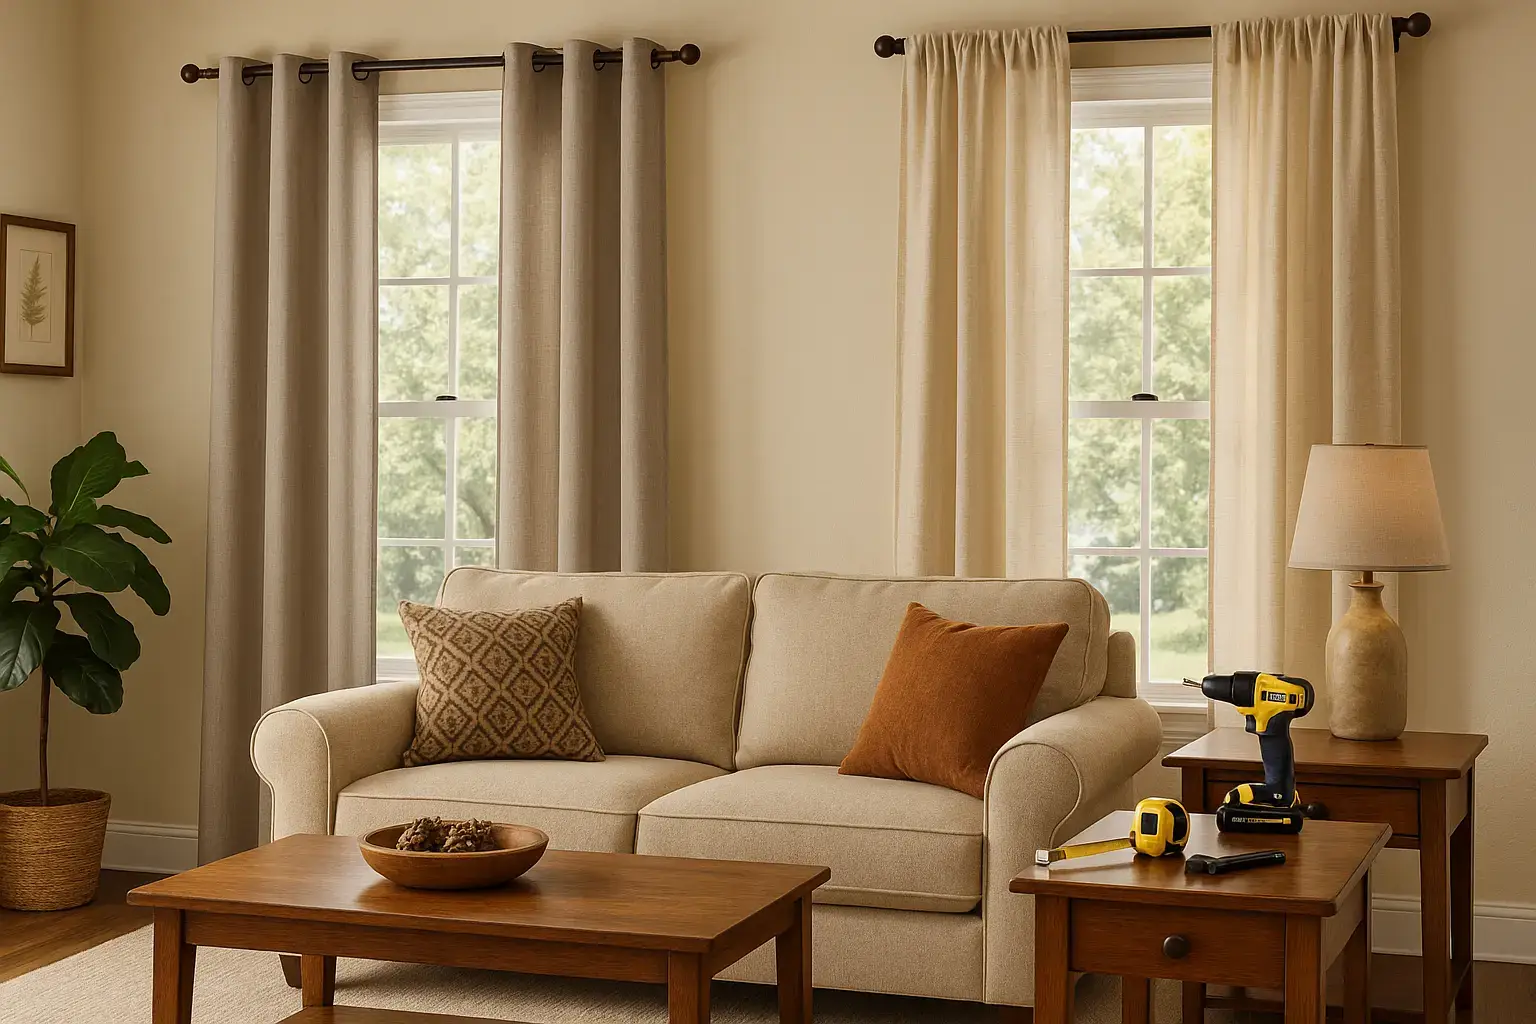
Step 5: Hanging the Curtains (Yes, Finally!)
Now for the moment of truth. Let’s get those curtains on the rod and up where they belong.
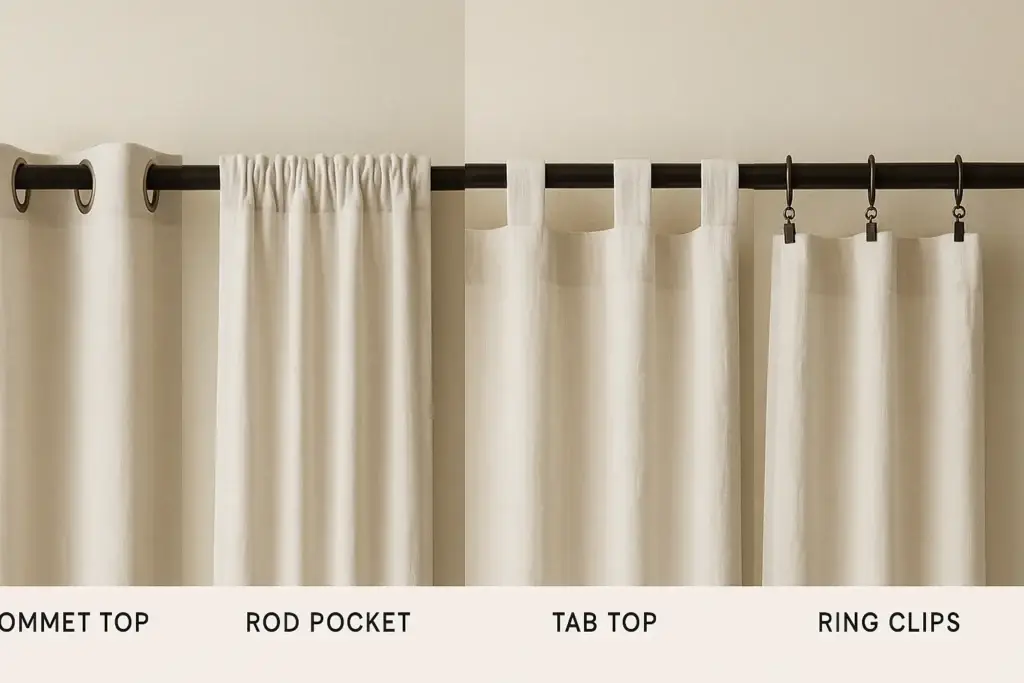
First, how are your curtains designed?
- Grommet tops: Simply thread the rod through the built-in metal eyelets.
- Rod pocket: Classic and discreet, but not great if you open or close the curtains often.
- Tab top: Loops sewn into the fabric. Casual and charming.
- Ring clips: Great for giving any curtain a tailored look and easy to slide.
Put the curtains on the rod, place it into the brackets, and then step back to see how it looks.
You might cry a little. It’s okay. Curtains have that effect when they finally just work.
No Drill? No Problem. Here’s What to Try Instead
Let’s face it sometimes drilling holes isn’t an option. Maybe you rent. Maybe your walls are ancient plaster. Maybe you just don’t own a drill.
Here are a few solid alternatives:
- Command hooks with rod attachments: Surprisingly sturdy if used properly. Lightweight curtains only.
- Tension rods: Great for bathrooms, smaller windows, or temporary setups.
- Tap-in brackets: Clip onto window trim. Zero tools required.
- Magnetic rods: Ideal for steel doors like garages or basements.
Are these options perfect? Not always. But they get the job done without leaving holes, and that’s a win in our book.
Mistakes? We’ve All Made ‘Em
Look, nobody’s perfect. Here are a few common curtain fails you’ll want to sidestep:
- Hanging the rod too low: Makes ceilings feel lower and rooms more cramped.
- Choosing curtains that are too short: It looks like you ran out of fabric.
- Skipping the level: You’ll notice. Your guests will notice. Just use the level.
- Not enough width: You end up with flat, limp panels instead of a full, luxe look.
- Weak curtain rod brackets: If the rod’s sagging, swap those out stat.
Also, make sure to iron or steam your curtains first so they look neat when you hang them. Wrinkles distract from even the most perfectly installed setup.
Final Thoughts: How to Hang Curtains
You know what? Hanging curtains is kind of like putting punctuation on a room. It doesn’t change the story entirely, but it gives it clarity, tone, and polish.
Whether you’re sprucing up a studio apartment in Brooklyn or adding warmth to a big Texas living room, curtains pull a space together in ways rugs and paint can’t always manage.
So don’t rush the process. Measure carefully. Choose styles that make sense for your life, not just Pinterest. And take a step back when you’re done to soak it all in.
You earned that moment.
And if things don’t go as planned, well… just blame the drill.
Got questions? Weird windows? DIY horror stories? Drop a comment or send in your curtain conundrums. We’ve been through it all and we get it.