Ever run your hand across a wall and felt every bump, groove, and dimple like it was Braille for a story you didn’t ask to read? Whether you’re tired of textured chaos, dealing with drywall scars from a past reno, or just craving that smooth, modern aesthetic, skim coating might be your new best friend.
Let’s be honest: at first glance, “skim coating” sounds like some fancy finish only pros can pull off. But with a little patience, the right gear, and a splash of elbow grease, even a weekend warrior can get buttery-smooth walls worthy of a design magazine.
So, grab a coffee (or your favorite IPA if it’s after hours), we’re going in.
So… What Exactly Is Skim Coating?
Think of skim coating as the drywall version of putting a clean bed sheet over a lumpy mattress. It’s the process of spreading a thin, even layer of joint compound, also known as mud, across the entire surface of a wall to smooth it out.
This isn’t just a touch-up; it’s a full makeover. We’re talking about erasing years of texture, minor damage, or just that outdated orange peel finish from 1994 that never sat right with you.
When Do You Need It?
- You finally tackled that popcorn ceiling farewell, retro ’80s texture!
- Your drywall looks like it’s been through a bar fight
- You want that sleek, polished gallery wall look
If any of that rings true, keep reading.
What You’ll Need (And Yes, It’s More Than Just Mud)

Skim coating doesn’t require an entire Home Depot aisle, but it’s not a bare-hands job either. Here’s your go-to toolkit:
- Drywall knife or trowel (10″ or 12″ blades work best)
- Mud pan (makes life way easier)
- All-purpose joint compound (don’t overthink it—USG or Sheetrock brand will do)
- Roller and pole (for the “roller skim” technique, more on that later)
- Sanding block or pole sander (unless you enjoy punishment)
- Drop cloths, painter’s tape, and maybe some old clothes (because mud goes everywhere)
Quick tip: steer clear of setting-type compounds unless you enjoy working against the clock. All-purpose mud gives you time to fix mistakes, and trust me, you’ll want that.
Step Zero: Prepping the Wall
Look, I get it. Prep work feels like the part everyone wants to fast-forward through. But ignore it, and you’ll regret it around Hour 5 when your compound starts peeling or cracking.
Here’s what prep actually looks like:
- Clean the wall. Grease and dust are your enemies.
- Scrape off any flaky paint or debris.
- Patch any large holes with filler.
- Prime the wall. Yes, even if it looks “fine.” A good drywall primer (like Zinsser or Kilz) gives the compound something to grip. Otherwise, it’s skating on ice.
And no, you can’t skip priming just because the internet said so.
Let’s Mix It Up: Prepping the Mud
Ever tried to frost a cake with chunky icing? That’s what it feels like using unmixed mud. Your joint compound should be the texture of Greek yogurt, not peanut butter.
Get yourself a bucket and a drill fitted with a mixing paddle attachment. Pour in a bit of water, give it a good stir, check how it feels, and adjust as needed. Don’t rush this part. Lumps now mean sanding hell later.
If your shoulders are not sore after mixing, you probably didn’t mix it enough.
How to Skim Coat Like You Actually Know What You’re Doing
Alright, moment of truth. Time to get the mud on the wall.
There are two main methods. You can:
- Roll it on, then smooth it out (great for big areas)
- Apply directly with a drywall knife (ideal for patches or tight spots)
For the roller method:
- Coat your roller with joint compound just as you would with paint.
- Apply it to a manageable spot around three feet by three feet works well.
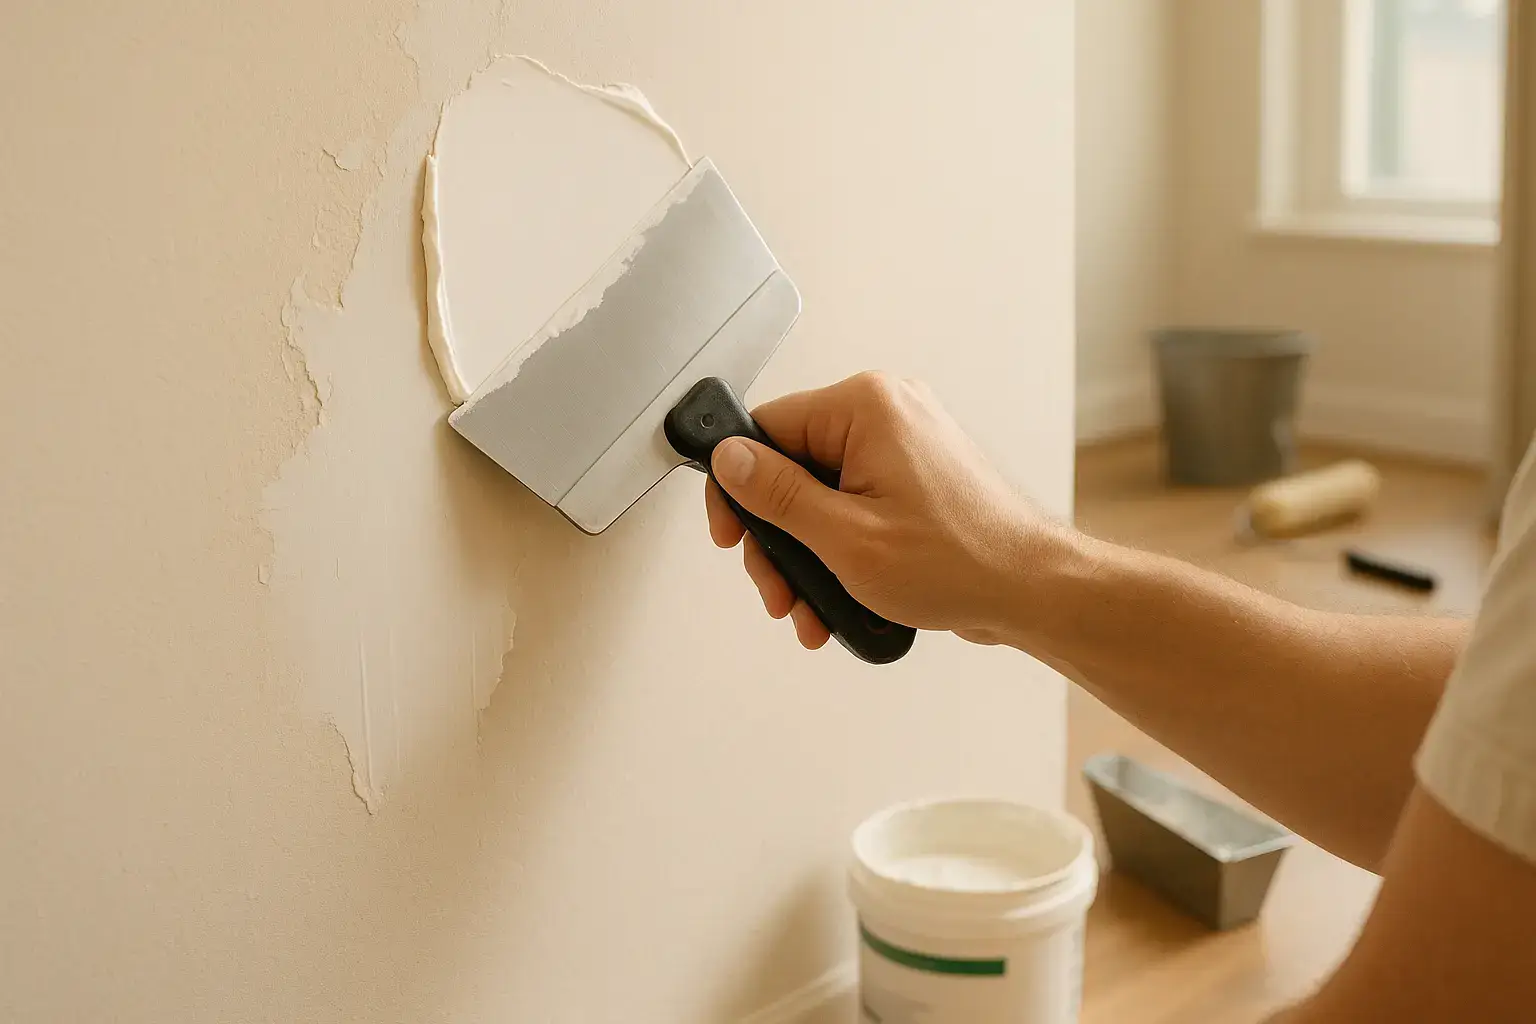
- Immediately go over it with your drywall knife at a shallow angle, smoothing it out like you’re buttering toast.
For direct application:
- Scoop a chunk of mud with your knife.
- Press it into the wall and pull it downward in even strokes.
- Don’t obsess over perfection. This is just the first coat.
You’ll probably mess up a bit. That’s normal. Mud is forgiving. Just scrape it off and go again.
Sand, Rinse, Repeat (Well, Don’t Actually Rinse)
After your first coat dries (give it 24 hours unless you live in the desert), it’s time to sand. But please, use a sanding pole or sponge with a vacuum attachment if you value your lungs. Drywall dust gets everywhere.
Go easy on the pressure and let the sandpaper handle the smoothing. You’re not stripping paint off a car here. Just knock down ridges and smooth the surface.
Still seeing imperfections? That’s fine. Apply a light second layer, wait for it to dry fully, then smooth it out with a gentle sanding.
Most walls take 2–3 coats. If you pulled it off in one coat, you might just be having a lucky day.
Finish Strong: Prime, Paint, and Admire
Once you’re satisfied with the smoothness and your arm stops twitching, it’s time to seal the deal.
Always prime before painting. It evens out absorption and makes your paint look like it cost way more than it did. (Pro tip: use a tinted primer if you’re going with dark paint.)
Then, paint away. You’ll be amazed at how luxurious a flat wall can feel. It’s like the difference between wearing linen and polyester. You can just tell.
Rookie Mistakes You’ll Want to Avoid
Let’s keep you from learning the hard way:
- Don’t over-thin the mud. Watery compound won’t stick right.
- Don’t skip primer before or after. Just don’t.
- Don’t overwork the mud while it’s drying. It’ll tear.
- Don’t rush drying times. The wall might look dry, but it’s lying to you.
Real Talk: Is It Worth Doing Yourself?
Honestly? If you’re doing one wall, go for it. There’s something oddly calming about it almost like finger painting for grown-ups. But if you’ve got an entire house of textured ceilings, maybe phone a pro.
That said, learning to skim coat builds confidence. Suddenly patching drywall or repairing dings feels doable, even routine. Plus, you get to tell people, “Yeah, I did that wall myself.”
They’ll be impressed. You’ll be proud.
Wrapping It Up: How to Apply Skim Coat on Wall
So there you have it, skim coating demystified. It’s not magic, it’s just technique and a bit of stubbornness. And while the first coat might feel like a disaster, by the third you’ll be gliding mud like a pro.
Whether you’re prepping for a statement paint color or just craving smooth walls you can run your hand across without wincing, this is your how-to.
Got questions? Leave a comment. Tried this and have a battle story to share? Definitely leave a comment.
And if this was helpful, maybe toss it to a friend who’s been staring at their textured walls wondering if there’s hope.
There is. It’s in the mud.