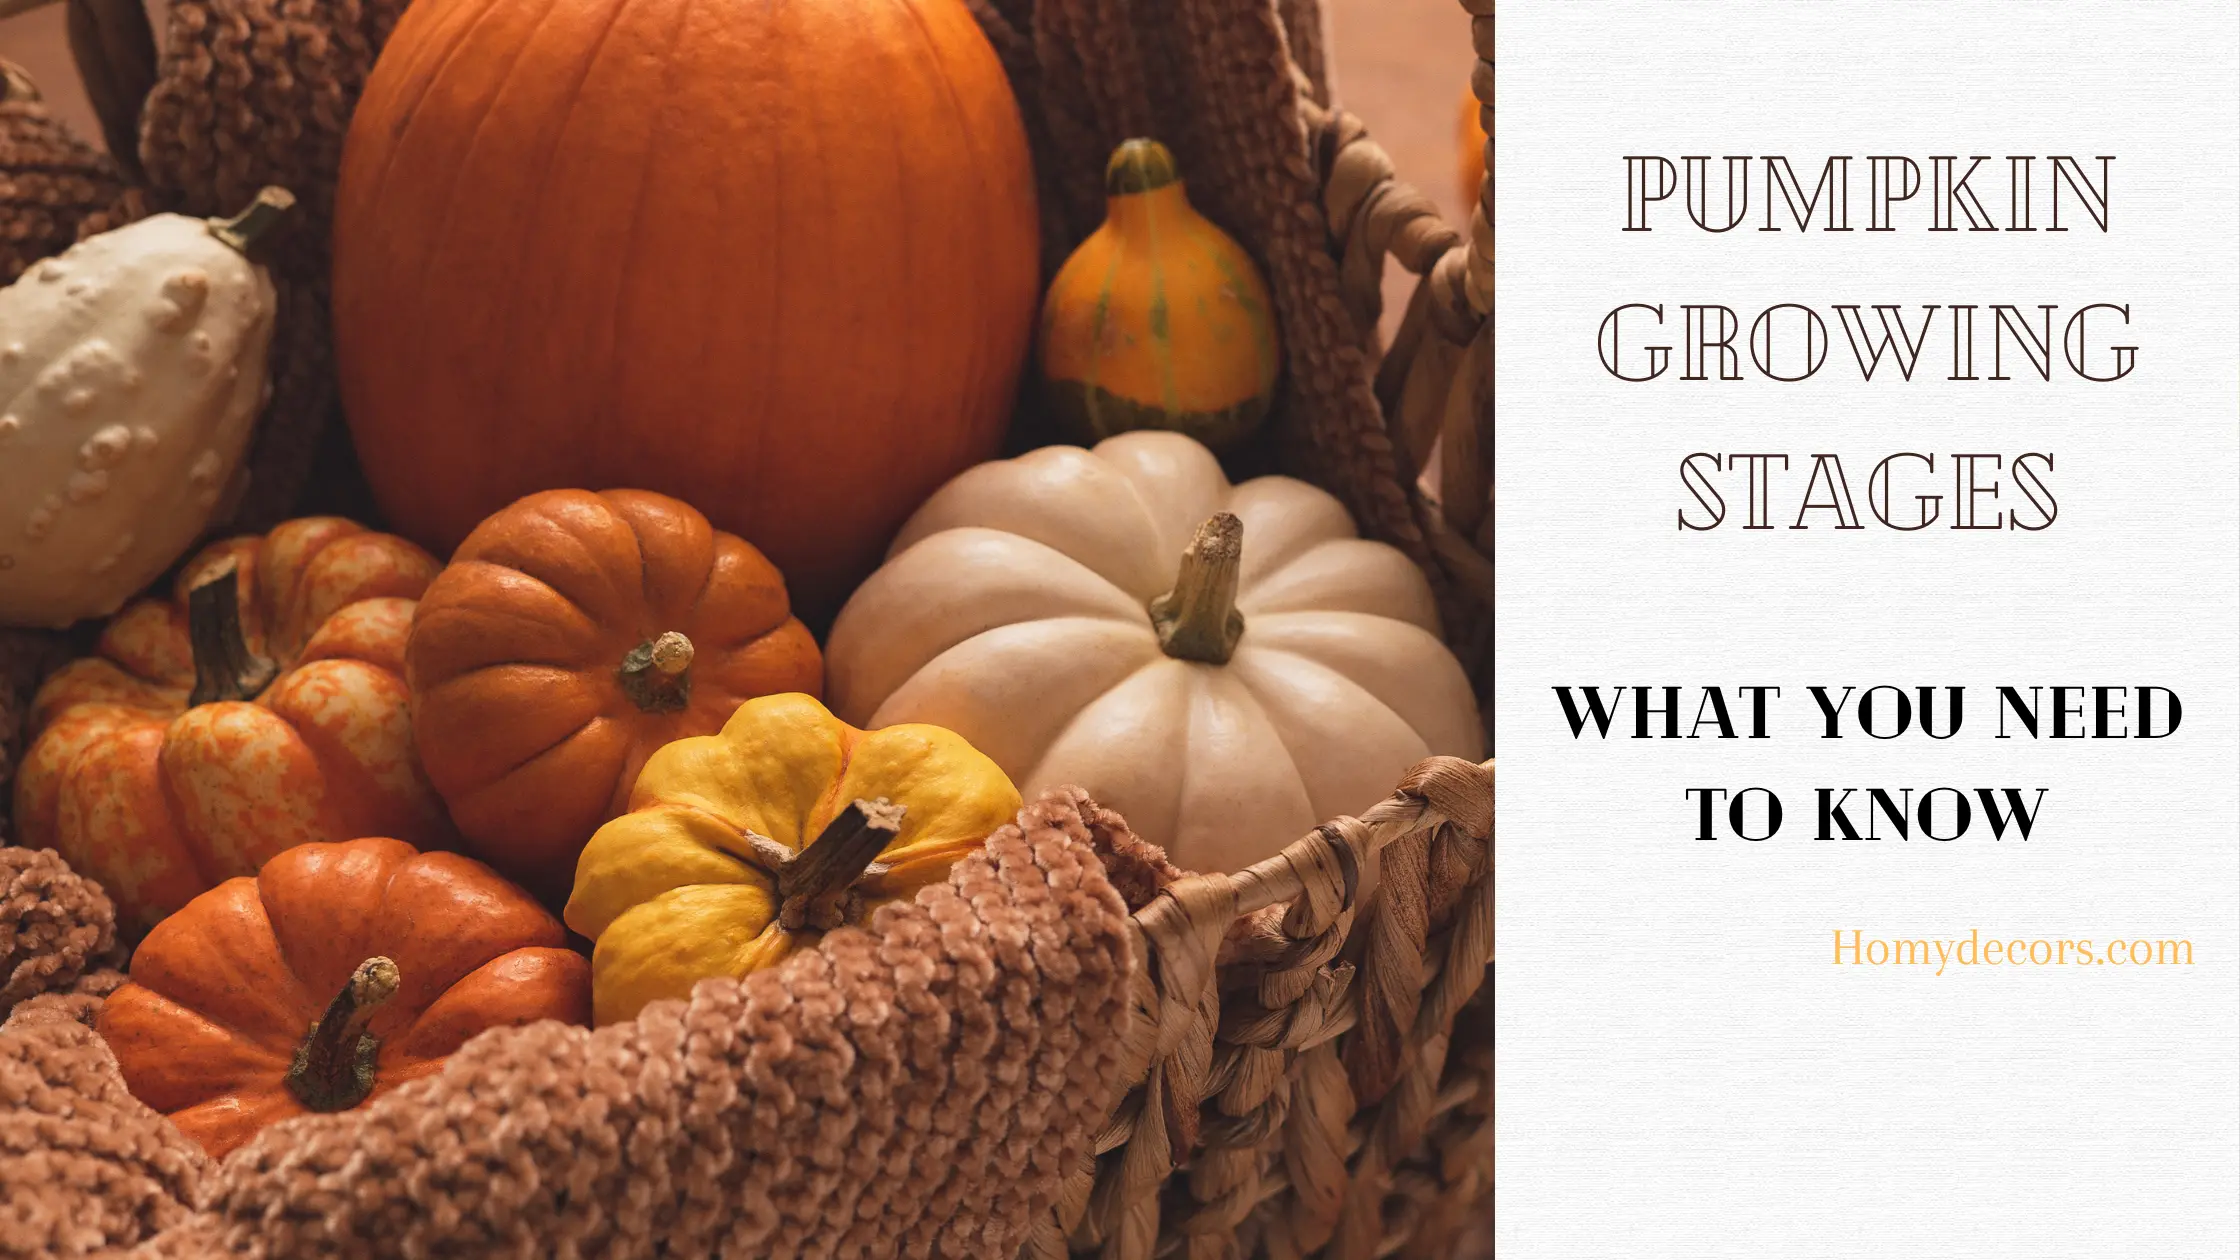
Did you know that the largest pumpkin ever grown weighed a whopping 2,621 pounds? That’s heavier than a grand piano! Pumpkins come in all shapes and sizes, from the classic orange orbs we carve for Halloween to miniature ones the size of a tennis ball. But before these magnificent gourds grace our doorsteps and kitchens, they embark on a fascinating journey of pump, starting as a tiny seed.
Pumpkin growing stages isn’t just about having a spooky centerpiece for Halloween; it’s about witnessing the magic of nature unfold in your own backyard. Understanding each stage of a pumpkin’s life cycle, from that first sprout to the plump, ripe fruit, is the key to cultivating success in your pumpkin patch. So, grab your gardening gloves, because we’re about to dive deep into the incredible world of pumpkin growing stages!
The Amazing Journey of a Pumpkin Growing Stages (Stage-by-Stage Breakdown):
Planting and Pumpkin Germination (7-10 days):
Welcome to the first chapter of our pumpkin saga! This is where the magic truly begins – with selecting the perfect pumpkin seeds for your garden. There’s a dazzling variety to choose from, from classic jack-o’-lantern giants like Big Max to quirky gourds like the bumpy Warted Hubbard. Consider your desired harvest – spooky masterpieces or delicious fall treats?
Now, let’s prepare a cozy home for your pumpkin seeds. The ideal soil is rich and well-draining, like a fluffy brownie batter. You can achieve this by mixing compost or aged manure into your existing soil. Remember, happy soil leads to happy pumpkins!
Once you’ve got your soil ready for initial pumpkin growing stage, plant your pumpkin seeds about 1 inch deep and a few feet apart (depending on variety). Keep the soil consistently moist, but not soggy – think of a damp sponge. Then comes the exciting part: watching for germination of pumpkin! In about 7-10 days, with a little sunshine and warmth, you’ll witness a tiny green sprout of your pumpkin peeking through the soil. It’s a small miracle, but the first sign that your pumpkin adventure is underway!
Pro Tip: Want to get a jumpstart on the season and enjoy an earlier harvest? Seed starting indoors is a great option! Plant your pumpkin seeds in pots a few weeks before the last frost, and then transplant them outdoors once the weather warms up. This method gives your pumpkins growing stage a head start and allows you to enjoy their deliciousness or spooky charm even sooner.
Pumpkin Seedling and True Leaves (1-2 weeks):
Our tiny sprout has emerged, blinking at the world for the first time. This delicate pumpkin seedling stage requires some gentle care to ensure it thrives. Watering is crucial, but don’t drown your little pumpkin! Aim for the soil to be consistently moist, but not soggy. Think of it like giving your sprout a refreshing morning drink, not a full bath. Sunlight is another key ingredient. Most pumpkin varieties love at least 6-8 hours of sunshine a day, so find a sunny spot in your garden for your growing champion.
Now, you might notice your little pumpkins sprout has some interesting leaves. The first pair to appear are called cotyledons, and they’re actually food reserves packed by the seed itself. They nourish the seedling until its true leaves develop. Imagine them as tiny lunchboxes for your baby pumpkin!
Here’s where things get interesting – soon after the cotyledons, the first set of true leaves will emerge. These are the leaves that will define the mature pumpkin plant. They’ll vary depending on the variety you planted, but typically have the familiar lobed shape we associate with pumpkins.
To help you differentiate between these fascinating foliage types, check out the fun illustration below! It compares the round cotyledons to the more intricate true leaves, making it easy to identify which is which on your own pumpkin seedling.

With a little TLC (tender loving care) and some sunshine, your pumpkin seedling will soon be ready to enter the next pumpkin growing stages of its growth journey!
Pumpkin Vine Growth (3-4 weeks):
Get ready for some serious growth! Around weeks 3-4, witness the magic of pumpkin vine development. Those delicate seedlings you nurtured will begin to transform into sprawling vines, eager to explore their surroundings. This is where your pumpkin patch truly comes alive!
But with great growth comes great responsibility (or rather, great support!). Pumpkin vines can reach impressive lengths, sometimes exceeding 20 feet! To ensure healthy production and prevent tangled chaos, proper spacing is crucial at pumpkin growing stages. When planting your pumpkin seeds, make sure to leave enough room for each vine to comfortably sprawl. The recommended spacing depends on the variety you chose, so be sure to check the seed packet for specific guidance.
Building DIY Pumpkin Trellis!
Pumpkin vines love to climb, and providing them with a sturdy trellis can be a smart move for smooth pumpkin growing stages. Here’s a simple DIY Pumpkin trellis you can build to support your pumpkin’s growth:
Materials:
- Sturdy poles (wood or metal) – at least 6 feet tall
- Strong twine or rope
- Optional: Mesh fencing (for added support)
Instructions:
- Set the Poles: Drive the poles firmly into the ground at least 2-3 feet deep, creating a rectangular or square structure. The recommended distance between poles depends on the number of pumpkin plants and desired spacing.
- String it Up: Once the poles are secure, tie the twine or rope horizontally between the poles, creating multiple levels. You can space these levels about 12-18 inches apart.
- Extra Support (Optional): If you want to provide extra support for your pumpkin vines, especially for larger pumpkin varieties, you can attach mesh fencing to the trellis frame. This provides additional climbing surfaces for the vines to grip onto.
With this DIY pumpkin trellis in place, gently guide your pumpkins vines as they grow, encouraging them to climb the structure. This not only keeps your pumpkin patch organized but also allows for better air circulation around the developing fruits, ultimately promoting healthier pumpkins growing stages!
Flowering and Pumpkin Pollination (8-10 weeks):
Prepare to be dazzled! Around weeks 8-10, your pumpkin vine will erupt in a vibrant display of sunshine-yellow flowers. But hold on – these aren’t all created equal. Pumpkins have separate male and female flowers, and understanding the difference is key to a successful harvest.
Distinguishing the Floral Cast:
- Male Flowers: These are typically smaller and have a single, slender stamen in the center, loaded with golden pollen. Imagine them as the pollen producers of the pumpkin party.
- Female Flowers: These are slightly larger and boast a central structure that looks a bit like a miniature green bulb (the ovary) surrounded by a radiating stigma (the pollen receiver). Picture them as the partygoers waiting for a pollen dusting!
How Pumpkin Pollinate?
In a perfect world, nature takes its course, and busy bees flit between flowers, transferring pollen from the male stamen to the female stigma, resulting in fruit set. But sometimes, Mother Nature needs a helping hand.
Pumpkin Hand-Pollination Technique for Guaranteed Results:
If you’re worried about bee populations or want to ensure maximum fruit set, hand-pollination is a fantastic option. Here’s how to play cupid at pumpkin growing stages:
- Gather your tools:
- A small, soft paintbrush or cotton swab
- A magnifying glass (optional, for better pollen transfer)
- Identify the flowers: Look for a male flower with ripe pollen (it will appear powdery) and a female flower with a receptive stigma (it will be slightly sticky).
- Transfer the pollen: Gently brush the pollen-laden stamen of the male flower or use your cotton swab to collect the pollen. Then, carefully dab the pollen onto the stigma of the female flower.
- Repeat the process: Visit several male and female flowers, transferring pollen to ensure a good chance of fruit set.
By playing this floral matchmaking game, you’ve increased the odds of your pumpkin vine producing a bountiful harvest!
Fruit Development and Ripening (4-8 weeks):
Get ready to witness some serious pumpkin power! During weeks 4-8, your female flowers will transform into the stars of the show – your prized pumpkins! Hold onto your gardening gloves, because this is where the real care and attention come into play.
The Great Pumpkin Growth Spurt:
Prepare to be amazed by the rapid growth of your pumpkin. What began as a tiny green nub will balloon into a magnificent gourd before your very eyes. Take time to appreciate this magical transformation! Keep a record of your pumpkin growing stages by taking weekly photos or measurements. You might be surprised by the sheer size difference in just a few days!
Crucial Care at Pumpkin Growing Stages:
During this vital stage, providing the right care is essential for healthy pumpkin development. Here are some key areas to focus on:
- Watering: Consistent watering is crucial, but avoid drowning your pumpkin. Aim for the soil to be evenly moist, but not soggy. Imagine giving your pumpkin a long, refreshing drink every few days, especially during hot weather.
- Pest Control: Keep an eye out for pesky insects like squash bugs or aphids that may want to feast on your precious pumpkin. Use organic pest control methods whenever possible, or consult a gardening expert for recommendations.
- Rot Prevention: Pumpkins resting directly on damp soil are susceptible to rot. To prevent this, consider placing a piece of wood, cardboard, or straw beneath your developing pumpkin growing stages to create a dry barrier.
Visual Guide: A Time-Lapse Journey:
Imagine a series of captivating images showcasing the incredible transformation of your pumpkin throughout its development. Here’s what you might see:
- Week 4: A small, green bulge appears on the pumpkin vine, marking the beginning of your pumpkin’s journey.
- Week 6: The pumpkin has noticeably grown in size, with a rounder, more defined shape.
- Week 8: Your pumpkin has reached a significant portion of its mature size, boasting a vibrant green color.
By witnessing this visual time-lapse unfold in your garden, you’ll gain a deeper appreciation for the amazing transformation that takes a tiny seed to a magnificent pumpkin!
Pumpkin Harvesting Time (100-120 days from planting):
The moment you’ve been waiting for has arrived – harvest time! After all your hard work and patient care, it’s time to reap the rewards of your pumpkin-growing adventure. But how do you know when your masterpiece is ready to be picked? Here are the secrets to identifying a ripe pumpkin:
Signs of a Spectacular Pumpkin:
- Color: Depending on the variety, your pumpkin should have reached its full, vibrant color. Classic orange pumpkins are a dead giveaway, while other varieties might boast beautiful hues of white, green, or even blue!
- Stem: The once-green stem will begin to dry out and turn brown, becoming woody and brittle to the touch. A green, flexible stem indicates your pumpkin needs more time to mature.
- The Thump Test: Gently tap the side of the pumpkin with your knuckle. If it sounds hollow, it’s a good sign of ripeness. A dull thud suggests the pumpkin is still developing.
Pumpkin Harvesting Techniques
Now that you’ve identified a ripe pumpkin, it’s time to harvest pumpkin with care. Here’s how to avoid damaging the pumpkins vine or fruit:
- Gather your tools: Sharp pruners or a sturdy knife.
- Locate the stem: Find the point where the pumpkin stem connects to the main vine.
- Make a clean cut: Using your pruners or knife, carefully cut the stem 2-3 inches away from the pumpkin. Don’t sever the stem too close to the pumpkin, as this can encourage rot.
- Handle with care: Lift your pumpkin gently by the stem, avoiding any rough handling.
Creative Twist: Pumpkin Power!
Congratulations, you’ve successfully grown a magnificent pumpkin! Now, the fun part begins – what will you do with your harvest? Here are some inspiring ideas:
- Culinary Delights: Pumpkins are incredibly versatile in the kitchen. Roast them for delicious pumpkin puree in pies or soups, whip up some savory pumpkin curry, or even bake decadent pumpkin bread.
- Carving Canvas: Get creative and transform your pumpkin into a spooky jack-o’-lantern for Halloween!
- Pumpkin Decorations: Let your pumpkin shine as a stunning autumn centerpiece. Decorate it with paint, glitter, or natural elements for a festive touch to your porch or home.
The possibilities are endless! So, pat yourself on the back, savor the fruits (or should we say, gourds) of your labor, and get ready to enjoy your homegrown pumpkin in all its glory!
Healthy Note: Don’t throw away your pumpkin seeds! Roast them for a nutritious and delicious snack – a perfect way to enjoy the bounty of your pumpkin-growing journey!
Conclusion: From Pumpkin Seeds to Spectacular – Celebrate Your Pumpkin Growing Stages!
By understanding the fascinating stages of pumpkin growth, you’ve unlocked the secrets to cultivating these magnificent gourds in your own backyard. From the miracle of germination to the explosive growth of the pumpkin vine, and finally to the moment you harvest a ripe masterpiece, each stage is a testament to the magic of nature.
Ready to take your pumpkin adventures even further? Here are some helpful resources:
- Pumpkin seed variety (exploring a wide variety of pumpkin seeds)
- Pumpkin growing guide (for in-depth information on pumpkin care)
Do you have any questions about pumpkins growing stages? Feel free to leave a comment below – I’m here to help your pumpkin-growing dreams flourish!
Now that you’ve gone through on this journey of pumpkin growing stages, we’d love to see your success! Share your photos and experiences of growing pumpkins in the comments section below. Let’s create a community of enthusiastic pumpkin enthusiasts and inspire each other with our homegrown bounty!
FAQs on Pumpkin growing stages:
Q1: My pumpkin plant seems stunted. What could be wrong?
A: Possible causes include insufficient sunlight, improper watering, or nutrient deficiency. Adjust your care routine accordingly.
Q2: My pumpkin plant isn’t producing fruit. Why?
A: Lack of pollination or stress factors like sudden temperature changes or pest problems could be culprits. Consider hand-pollination and maintaining consistent plant care.
Q3: How can I deal with pests on my pumpkin plant?
A: Use organic methods like insecticidal soap or neem oil spray whenever possible. Encourage beneficial insects like ladybugs that prey on common pests.
Q4: How do I know when my pumpkin is ripe?
A: Look for a color change (depending on variety), a hollow sound when thumped, and a dry, brown stem that snaps easily with a gentle twist.


I very delighted to find this internet site on bing, just what I was searching for as well saved to fav