Oh no, looks like your radiator’s sprung a leak! While it may seem like a small problem now, a leaking radiator valve can turn into a big headache if you don’t take care of it. I know, I know – radiator repairs sound about as fun as a root canal. But hear me out! Taking the time to fix that leak now prevents way bigger (and way more expensive!) issues down the road.
Neglecting a leaky radiator puts your heating system at risk. The leak could get worse, causing dangerous overheating and potentially leaving you without heat! Yikes. Not to mention, if you wait too long, you may need to replace the entire radiator. And trust me, that’s not cheap.
The good news is, a leaky radiator valve is usually an easy fix. No need to call the plumber and shell out a bunch of money. With a few tools and this handy guide, you can patch up that leak in no time. Then it’s back to cozy winters and toasty toes! Fixing your radiator yourself saves you time, money, and one big wintertime headache. So let’s get started and get that leak fixed so you can get back to hibernating.
Where to find radiator valve?
Got leaking radiator valve, we feel you – it can be a real pain. But don’t worry, we’re here to walk you through fixing it up in no time. First things first, let’s get familiar where exactly a radiator valve is.
You can spot these guys easily – they live at the bottom of your radiator. See that little twisty knob? That’s it! Radiator valves are like the temperature controllers for your radiators. Give them a twist one way to crank up the heat, or the other way to cool things down. This lets you get your radiators to the perfect temp for your home.
Now that we’re on the same page about what they are, let’s talk about how to fix a leak. Dealing with it ASAP is important so your radiator can work its magic again…
How to Find out Leaking Radiator Valve?
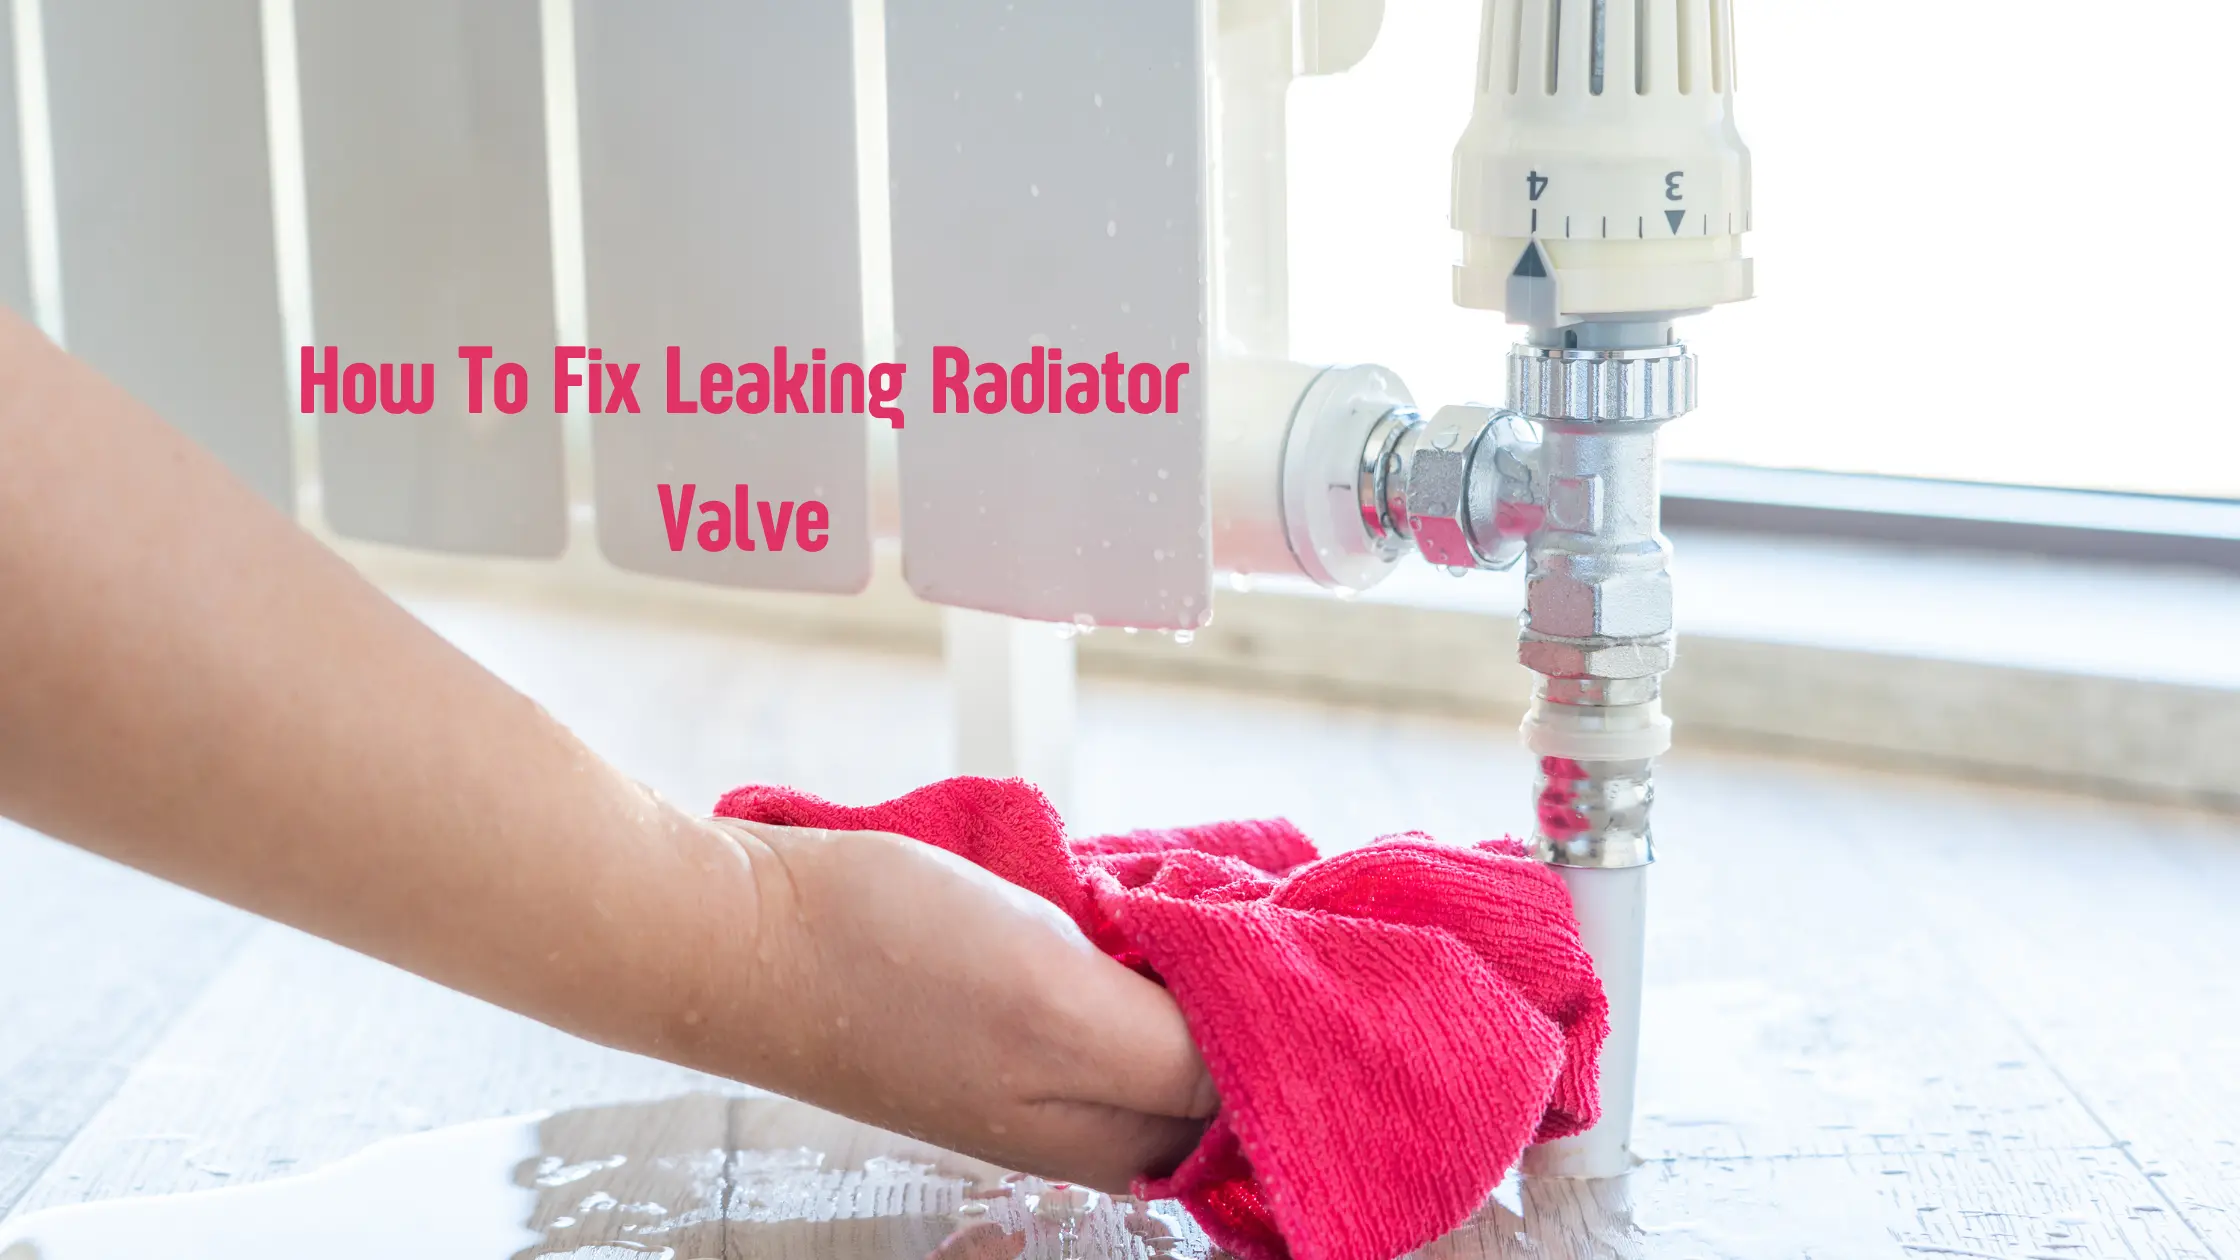
Don’t sweat it – this little trick will help you find the leaking radiator valve in no time. First, dry off the whole radiator with a towel so you’ve got a clean slate. Then, grab a few sheets of toilet paper or paper towels and stick them on the radiator body, valve, and pipe.
Keep an eye on those puppies – whichever one gets wet is your leaky culprit! The paper will show you where the water is escaping from so you can focus your repair efforts in the right spot. Pretty nifty, right? No need to get frustrated trying to hunt down that leak. Just let some paper towels work their magic and you’ll have this figured out in a jiffy. That radiator doesn’t stand a chance against your clever leak detection skills.
DIY Leaking Radiator Valve Fix?
With a few handy household items, you can fix you leaking radiator valve in no time.
First up, grab a towel and a bucket – these will help contain any drips and make cleanup a breeze. Toilet paper or some kitchen roll will come in handy too for soaking up extra moisture.
Now for the tools – a trusty screwdriver and spanner are all you need to tackle those pesky valves. No fancy equipment required!
Once you’ve gathered your leak-busting supplies, take a deep breath and dive in. Remember, a little leak is no match for your radiator repair expertise. Stay calm and focus on getting the job done.
Before you know it, you’ll have that leaky valve tightened up and your radiator working like new again. Nice work! With the right prep and a positive attitude, household repairs are a cinch. You’ve so got this.
How to Fix a Leaking Radiator Valve?
A leaking radiator valve can be caused by several issues, each needing its own repair approach.
Leaking Radiator Valve Nut
Don’t sweat the leaking radiator valve, We’ll have you patched up in a jiffy. The culprit is usually that rascally radiator valve nut – there are three of them on your radiator. Tighten them up with a good ol’ spanner and that’ll often do the trick.
But if those radiator valve nuts keep misbehaving, we’ve got tricks up our sleeves. Drain the centeral heating system, bust out the spanner again to loosen the leaky radiator valve nut, and schmear some of that handy dandy plumbing joint compound on it. Once you’ve given it a good coating, screw the radiator valve nut back on. Refill the system, kick back, and see if that took care of it.
Look at us – leak vanquished! With some simple elbow grease and can-do spirit, we can get those pesky drips sorted quick. Your radiator will be back to piping hot in no time.
Leaky Radiator Valve Gland
This is an easy fix for a handy homeowner like yourself. First, grab a wrench and give that radiator valve gland nut a little tighten. Sometimes that’s all it takes to stop the drip. But if you still see water trickling out, we’ll have to break out the PTFE tape.
First thing’s first – drain that central heating system so we can get in there nice and dry. Then remove the radiator valve gland nut with your trusty wrench. Take some PTFE tape (also called plumber’s tape) and wrap it around the valve threads a few times. This creates a waterproof seal when you screw the radiator gland nut back on. Refit the gland, top up the system, and let’s fire it up to check for leaks.
With just a few simple tools and materials, you can stop that leaky valve in its tracks. No need to call in a plumber and pay big bucks. Just a bit of PTFE tape and some elbow grease, and you’ll fix that leak yourself in no time. Let me know if you need any other tips for quick home repairs!
Leaking Radiator Drain Valve
Don’t worry about the leaking radiator drain valve, this is usually an easy fix. Those little rubber washers on the valve can get worn out if you crank them down too tight. Let’s stop that pesky drip, shall we?
First, drain your central heating system – safety first! Then grab some pliers and remove the top of the valve. Pop that tired old washer off and slap a fresh new one on. Refill your system, cross your fingers, and see if that took care of it. With any luck, no more annoying drips!
Radiators aren’t too complicated, they just need a little TLC now and then. I know leaks can be a pain, but don’t sweat it. Take your time and be gentle with those valves, and your heating system will keep you cozy all winter long. Let me know if you need any other tips – happy to help a friend out!
Leaking Radiator Bleed Valve
Looks like your radiator is leaking from the bleed valve. No worries, we can fix this together in a few easy steps. First, let’s release the pressure by closing the leaking radiator valves and opening the bleed screw with a bleed key. Have a bucket ready to catch any drips. Now we can remove that pesky bleed valve and add some PTFE tape or joint compound to seal it up nice and tight.
Pop the valve back in, top up the radiator, give it a bleed, and see if our fix worked! With a bit of elbow grease, we’ll have this leak licked in no time. Just remember to stay positive – these things happen sometimes. We got this!
Leaking due to corrosion
Whoops, looks like you’ve got some leaky corrosion going on! Don’t sweat it, I’ve seen this before. When gunk builds up inside the radiator, it can cause the metal to rot from the inside out, leaving pesky little holes that turn your radiator into a drippy mess. Bummer! Unfortunately, slapping on some sealant isn’t gonna be a permanent fix for this puppy.
Plastic resin sealants can plug the leak temporarily, but that corrosion will keep on spreading. And you definitely don’t want to use sealants on a sealed heating system – that’s a recipe for disaster! The best solution here is to replace the leaky radiator altogether. I know, I know, not what you wanted to hear. But look on the bright side – a shiny new radiator will have your system running smooth as ever! This is a chance to upgrade and prevent any future corrosion-related leaks. Just think how nice that’ll be! Chin up, these things happen, but we’ll get it fixed up right. Let me know if you have any other questions!
How to Stop a Leaky Radiator Valve
To prevent leaking radiator valve, which can lead to more costly repairs later, take proactive steps like checking hoses for cracks, ensuring caps are tight, and having your cooling system flushed periodically. These include:
– Place furniture at a safe distance from radiators to avoid damage to furnishings. The weight and pressure of furniture on radiators and valves can also cause leaks.
– Check radiator inhibitor levels regularly. Radiator inhibitor is a chemical that protects the central heating system, so frequent checks ensure its longevity.
– Avoid drying clothes or towels on radiators, as this can promote corrosion and rust over time.
– Inspect radiators monthly for cold spots, which may indicate trapped air and lead to leaks if left unaddressed. Bleed any radiators with cold spots to resolve the issue.


Hi there to all, for the reason that I am genuinely keen of reading this website’s post to be updated on a regular basis. It carries pleasant stuff.